
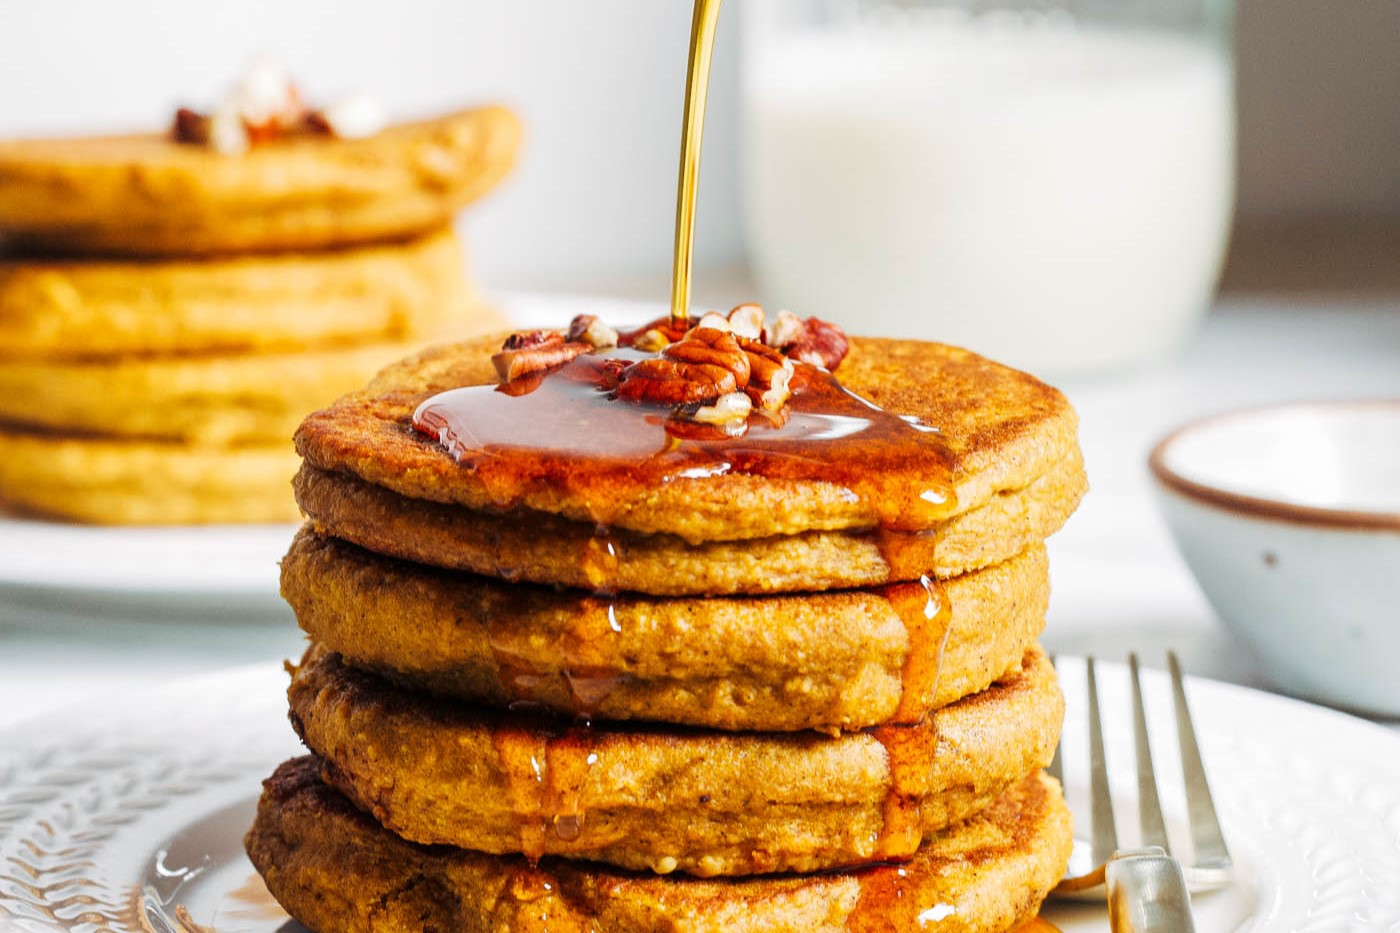
I love making these gluten-free pumpkin pancakes because they bring a cozy, autumn feeling to any morning. They’re soft, flavorful, and perfect for sharing with family or friends. I can’t wait for you to try them and enjoy that warm pumpkin taste in every bite.
Most of the ingredients in this recipe are easy to find, but if you don’t usually keep pumpkin puree in your kitchen, you might want to pick some up at the supermarket. Also, make sure to grab gluten-free flour if you need to avoid gluten. The rest, like spices and baking powder, are common pantry staples.
Ingredients For Gluten-Free Pumpkin Pancakes Recipe
Gluten-free flour: A special flour blend made without gluten, perfect for those with gluten sensitivities.
Pumpkin puree: Smooth pumpkin that adds moisture and a rich, autumn flavor.
Milk: Can be dairy or any non-dairy milk, used to make the batter smooth.
Egg: Helps bind the ingredients together and adds fluffiness.
Sugar: Adds a touch of sweetness to balance the spices.
Baking powder: A leavening agent that helps the pancakes rise.
Baking soda: Works with the baking powder to make the pancakes light and fluffy.
Cinnamon: A warm spice that gives the pancakes a cozy flavor.
Nutmeg: Adds a little extra spice and depth to the taste.
Salt: Enhances all the flavors in the recipe.
Melted butter or oil: Adds richness and helps keep the pancakes moist.
Technique Tip for Perfect Pumpkin Pancakes
One of the most helpful moves in making these pumpkin pancakes is knowing when to flip them. It might seem tricky at first, but once you get the hang of it, your pancakes will come out perfectly golden and fluffy every time. Here’s how to do it step by step:
- After you pour the batter onto the skillet, watch the surface closely.
- You’ll start to see little bubbles forming all over the top of the pancake.
- When most of the bubbles have popped and the edges look a bit set or dry, that’s your signal to flip.
- Use a spatula to gently lift one side and then quickly but carefully turn the pancake over.
- Cook the other side until it’s golden brown, which usually takes about a minute or two.
Flipping at just the right moment makes cooking smoother because it helps the pancake cook evenly without burning one side or leaving the inside raw. If you flip too early, the pancake might fall apart or be gooey inside. Flip too late, and it could get too dark or crispy on the bottom. Getting this timing right means your pancakes will be soft, warm, and full of that cozy pumpkin flavor.
When I first tried flipping pancakes, I was nervous and flipped way too soon, which made a bit of a mess in the pan. Now, I like to keep my spatula close and watch those bubbles carefully. A little patience goes a long way! Also, if you’re worried about sticking, make sure your skillet is lightly greased and not too hot. That way, the pancakes slide right off when it’s time to flip. It’s a simple trick that makes breakfast feel like a little kitchen win every time.
Suggested Side Dishes
Alternative Ingredients
gluten-free flour - Substitute with almond flour: Almond flour provides a nutty flavor and is naturally gluten-free, making it a great alternative.
gluten-free flour - Substitute with coconut flour: Coconut flour is also gluten-free and adds a slight coconut flavor, but you may need to adjust the liquid content as it absorbs more moisture.
pumpkin puree - Substitute with sweet potato puree: Sweet potato puree has a similar texture and sweetness, making it a good alternative.
milk - Substitute with almond milk: Almond milk is a non-dairy alternative that works well in most recipes.
milk - Substitute with oat milk: Oat milk is another non-dairy option that has a creamy texture similar to dairy milk.
egg - Substitute with flax egg: A flax egg (1 tablespoon ground flaxseed + 3 tablespoon water) is a vegan alternative that helps bind the ingredients together.
sugar - Substitute with maple syrup: Maple syrup adds a natural sweetness and a hint of maple flavor.
sugar - Substitute with honey: Honey is a natural sweetener that can replace sugar, but it will add a slight honey flavor.
baking powder - Substitute with baking soda and cream of tartar: Mix ¼ teaspoon baking soda with ½ teaspoon cream of tartar to replace 1 teaspoon baking powder.
baking soda - Substitute with baking powder: Use 3 times the amount of baking powder to replace baking soda, but be aware it may affect the taste slightly.
cinnamon - Substitute with pumpkin pie spice: Pumpkin pie spice contains cinnamon along with other spices, adding a more complex flavor.
nutmeg - Substitute with allspice: Allspice has a similar warm flavor profile and can replace nutmeg in most recipes.
salt - Substitute with sea salt: Sea salt can be used in the same quantity and provides a slightly different mineral flavor.
melted butter - Substitute with coconut oil: Coconut oil is a dairy-free alternative that adds a slight coconut flavor.
melted butter - Substitute with olive oil: Olive oil is another dairy-free option that works well in most recipes, though it may add a slight olive flavor.
Alternative Recipes Similar to Pumpkin Pancakes
How To Store / Freeze Your Pumpkin Pancakes
Allow the pumpkin pancakes to cool completely on a wire rack. This prevents them from becoming soggy when stored.
Once cooled, layer the pancakes between sheets of parchment paper. This ensures they don't stick together, making it easier to grab just one or two when you're ready to enjoy them.
Place the layered pancakes in an airtight container or a resealable plastic bag. Squeeze out as much air as possible to maintain their freshness.
Store the container or bag in the refrigerator if you plan to eat the pancakes within the next 3-4 days. This keeps them fresh and ready for a quick reheat.
For longer storage, place the container or bag in the freezer. Pumpkin pancakes can be frozen for up to 2 months without losing their delightful flavor and texture.
When you're ready to eat, reheat the pancakes directly from the refrigerator or freezer. For a quick option, use the microwave: place a pancake on a microwave-safe plate and heat for 20-30 seconds if refrigerated, or 60-90 seconds if frozen.
Alternatively, reheat the pancakes in a toaster or toaster oven. This method helps to restore their slightly crispy edges and warm, fluffy centers. Toast for 1-2 minutes if refrigerated, or 3-4 minutes if frozen.
If you prefer, you can also reheat the pancakes in a skillet. Heat a non-stick skillet over medium heat, and cook each pancake for about 1-2 minutes per side until warmed through.
Serve the reheated pumpkin pancakes with your favorite toppings, such as maple syrup, fresh berries, or a dollop of whipped cream. Enjoy the cozy, autumnal flavors any time of the year!
How To Reheat Leftovers
Oven Method: Preheat your oven to 350°F (175°C). Arrange the pumpkin pancakes in a single layer on a baking sheet. Cover them with aluminum foil to prevent them from drying out. Heat for about 10 minutes or until they are warmed through. This method ensures even heating and keeps the pancakes fluffy.
Microwave Method: Place a stack of pumpkin pancakes on a microwave-safe plate. Cover them with a damp paper towel to retain moisture. Microwave on medium power for 30-60 seconds, checking halfway through. This is the quickest method but be cautious as it can make the pancakes a bit soggy if overdone.
Toaster Method: For a slightly crispy exterior, pop the pumpkin pancakes into a toaster or toaster oven. Toast on a low setting for 1-2 minutes, keeping an eye on them to avoid burning. This method is great for a quick reheat with a bit of texture.
Skillet Method: Heat a non-stick skillet over medium-low heat. Lightly grease the skillet with a bit of butter or oil. Place the pumpkin pancakes in the skillet and heat for about 1-2 minutes on each side. This method helps maintain the original texture and flavor of the pancakes.
Steam Method: If you want to retain maximum moisture, use a steamer. Place the pumpkin pancakes in a steamer basket over simmering water. Cover and steam for about 2-3 minutes. This method is gentle and keeps the pancakes soft and moist.
Essential Tools for Making Pumpkin Pancakes
Mixing bowl: Use this to combine your dry ingredients like flour, sugar, baking powder, baking soda, cinnamon, nutmeg, and salt.
Another mixing bowl: This is for whisking together the wet ingredients such as pumpkin puree, milk, egg, and melted butter.
Whisk: Essential for thoroughly mixing the wet ingredients to ensure a smooth consistency.
Spatula: Handy for folding the wet and dry ingredients together without over-mixing.
Non-stick skillet: Perfect for cooking the pancakes evenly without them sticking to the surface.
Measuring cups: Necessary for accurately measuring out the flour, pumpkin puree, and milk.
Measuring spoons: Use these to measure out the sugar, baking powder, baking soda, cinnamon, nutmeg, and salt.
Ladle or ¼ cup measuring cup: Ideal for pouring the batter onto the skillet in consistent portions.
Spatula (for flipping): Use this to flip the pancakes once bubbles form on the surface to cook the other side until golden brown.
Small bowl: Useful for melting the butter or oil before adding it to the wet ingredients.
Time-Saving Tips for Pumpkin Pancakes
Pre-mix dry ingredients: Combine the flour, sugar, baking powder, baking soda, cinnamon, nutmeg, and salt in advance and store in an airtight container.
Use canned pumpkin: Opt for canned pumpkin puree instead of making your own to save time.
Make a large batch: Double or triple the recipe and freeze extra pancakes for quick breakfasts later.
Preheat skillet: Start heating your skillet while mixing the ingredients to save time.
Measure ingredients ahead: Measure out all ingredients before starting to streamline the process.
Gluten-Free Pumpkin Pancakes Recipe
Ingredients
Main Ingredients
- 1 cup gluten-free flour
- ½ cup pumpkin puree
- 1 cup milk (dairy or non-dairy)
- 1 egg
- 2 tablespoon sugar
- 1 teaspoon baking powder
- ½ teaspoon baking soda
- ½ teaspoon cinnamon
- ¼ teaspoon nutmeg
- ¼ teaspoon salt
- 2 tablespoon melted butter or oil
Instructions
- In a bowl, mix the flour, sugar, baking powder, baking soda, cinnamon, nutmeg, and salt.
- In another bowl, whisk together the pumpkin puree, milk, egg, and melted butter.
- Combine the wet and dry ingredients, stirring until just mixed.
- Heat a non-stick skillet over medium heat and lightly grease it.
- Pour ¼ cup of batter onto the skillet for each pancake.
- Cook until bubbles form on the surface, then flip and cook until golden brown.
Nutritional Value
Keywords
More Amazing Recipes to Try 🙂
- Keto Cheese Crisps Recipe15 Minutes
- Quinoa Black Bean Burgers Recipe35 Minutes
- Island Style Fried Rice Recipe30 Minutes
- German Apple Pancake Recipe35 Minutes
- Tropical Shrimp Dipping Sauce Recipe10 Minutes
- Pigs in a Blanket Recipe25 Minutes
- Garden Pasta Salad Recipe25 Minutes
- Blue Motorcycle Recipe5 Minutes
Leave a Reply