
I’m really excited to share this sawmill gravy recipe with you because it’s one of those simple, comforting dishes that feels like a warm hug on a plate. I love making it when I want something creamy and tasty without a lot of fuss. Keep reading and you’ll see how easy it is to whip up this classic gravy that goes great with so many meals.
Most of the ingredients in this recipe are probably already in your kitchen, like butter, flour, salt, and pepper. The only thing you might want to check for is milk, which you can find in any supermarket’s dairy section. Just make sure to grab regular milk, not a flavored or plant-based kind, so the gravy turns out just right.
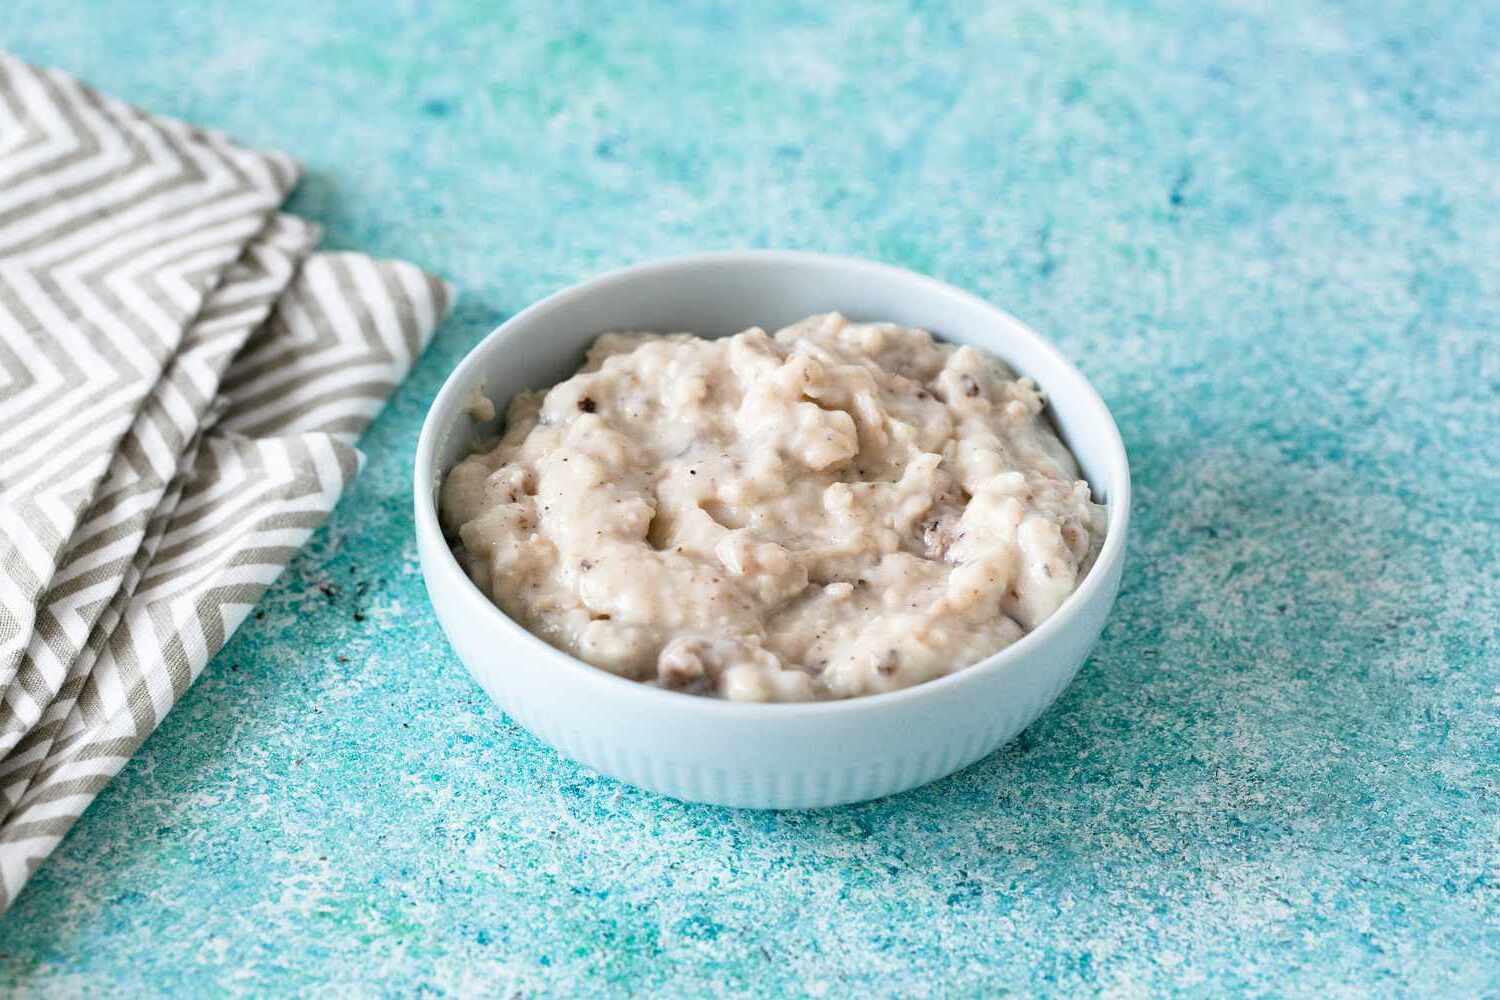
Ingredients For Sawmill Gravy Recipe
Butter: Adds richness and helps create the base for the gravy.
All-purpose flour: Thickens the gravy and gives it that smooth texture.
Milk: The main liquid that makes the gravy creamy and delicious.
Salt: Enhances the flavor of the gravy.
Black pepper: Adds a little bit of spice and depth to the taste.
Technique Tip for This Gravy
One of the most important steps in making this Sawmill Gravy is whisking in the milk slowly while stirring. Here’s how to do it so your gravy turns out smooth and creamy, without any lumps. First, after you’ve melted the butter and cooked the flour for a minute or two, start adding the milk a little bit at a time. Use a whisk and keep stirring constantly as you pour. This helps the flour mix evenly with the milk and stops clumps from forming. If you pour all the milk in at once, it’s easy for lumps to appear, which can make the gravy look and feel grainy.
Why does this work? When you add the milk slowly and whisk steadily, the heat from the pan cooks the flour evenly, and the liquid blends in smoothly. This makes the gravy thick and velvety instead of bumpy. Plus, stirring keeps the flour from sticking to the bottom of the pan and burning, which would give the gravy a bitter taste.
I remember the first time I made gravy, I dumped all the milk in at once because I was in a hurry. The result was full of lumps, and I had to strain it to fix it. Now, I always take my time whisking in the milk slowly. It’s a little extra patience, but it makes the whole process easier and the gravy way better. If you want to save time, you can warm the milk before adding it—it blends faster and helps the gravy thicken quicker.
Suggested Side Dishes
Alternative Ingredients
butter - Substitute with margarine: Margarine can be used as a dairy-free alternative and has a similar fat content to butter.
butter - Substitute with olive oil: Olive oil provides a healthier fat option and can add a subtle flavor to the gravy.
all-purpose flour - Substitute with cornstarch: Cornstarch can be used as a thickening agent and is gluten-free.
all-purpose flour - Substitute with rice flour: Rice flour is another gluten-free option that can thicken the gravy similarly to all-purpose flour.
milk - Substitute with almond milk: Almond milk is a dairy-free alternative that can provide a similar consistency to cow's milk.
milk - Substitute with soy milk: Soy milk is another dairy-free option that has a comparable texture and taste to cow's milk.
salt - Substitute with sea salt: Sea salt can be used in the same quantity and provides a slightly different mineral content.
salt - Substitute with kosher salt: Kosher salt has larger grains and a purer taste, making it a good alternative.
black pepper - Substitute with white pepper: White pepper has a similar heat level but a slightly different flavor profile, which can be a subtle change.
black pepper - Substitute with cayenne pepper: Cayenne pepper adds a bit more heat and a different flavor, suitable for those who like a spicier gravy.
Other Alternative Recipes Similar to This Gravy
How To Store / Freeze This Gravy
Allow the sawmill gravy to cool to room temperature before storing. This prevents condensation and keeps the gravy from becoming watery.
Transfer the cooled gravy into an airtight container. Glass containers with tight-fitting lids are ideal, but plastic containers or resealable plastic bags work well too.
Label the container with the date of preparation. This helps you keep track of how long the gravy has been stored.
Store the container in the refrigerator if you plan to use the gravy within 3-4 days. The cold temperature will keep the butter and milk from spoiling.
For longer storage, place the container in the freezer. Sawmill gravy can be frozen for up to 3 months without losing its creamy texture and rich flavor.
When ready to use, thaw frozen gravy in the refrigerator overnight. This slow thawing process helps maintain the gravy's consistency.
Reheat the gravy gently on the stovetop over low heat, stirring frequently to prevent it from sticking to the pan. If the gravy is too thick, add a splash of milk or chicken broth to reach the desired consistency.
Avoid reheating the gravy in the microwave, as it can cause uneven heating and may alter the texture. If you must use a microwave, do so in short intervals, stirring in between.
If the gravy separates or becomes lumpy during reheating, whisk it vigorously or use an immersion blender to restore its smoothness.
For added flavor, consider incorporating cooked sausage or bacon bits when reheating. This can enhance the savory profile of the gravy.
Always check for any signs of spoilage, such as an off smell or unusual texture, before consuming stored gravy. If in doubt, it's safer to discard and make a fresh batch.
How To Reheat Leftovers
Stovetop Method: Place the leftover sawmill gravy in a saucepan over low heat. Stir frequently to prevent sticking and ensure even heating. If the gravy is too thick, add a splash of milk or chicken broth to reach the desired consistency. Continue to heat until the gravy is warmed through.
Microwave Method: Transfer the gravy to a microwave-safe bowl. Cover with a microwave-safe lid or plastic wrap with a small vent. Heat on medium power in 30-second intervals, stirring in between, until the gravy is hot. If it thickens too much, add a bit of milk or water and stir well.
Double Boiler Method: Fill the bottom of a double boiler with water and bring it to a simmer. Place the gravy in the top part of the double boiler. Stir occasionally until the gravy is heated through. This method helps to gently reheat the gravy without the risk of burning.
Oven Method: Preheat your oven to 350°F (175°C). Pour the gravy into an oven-safe dish and cover with aluminum foil. Heat in the oven for about 15-20 minutes, stirring halfway through. If the gravy is too thick, add a bit of milk or broth before reheating.
Best Tools for Making This Gravy
Skillet: A flat-bottomed pan used for cooking the butter and flour mixture to make the gravy base.
Whisk: A tool used to blend ingredients smoothly and incorporate air into the mixture, essential for preventing lumps in the gravy.
Measuring cups: Used to measure out the precise amounts of butter, flour, and milk needed for the recipe.
Measuring spoons: Used to measure the salt and black pepper accurately.
Stove: The heat source for melting the butter and cooking the flour mixture.
Spatula: Useful for scraping down the sides of the skillet and ensuring all ingredients are well incorporated.
Serving dish: A dish to serve the hot gravy once it is ready.
How to Save Time on Making This Gravy
Pre-measure ingredients: Measure out butter, flour, milk, salt, and pepper before you start cooking to streamline the process.
Use a whisk: A whisk helps blend the flour and butter smoothly, reducing lumps and saving time.
Warm the milk: Slightly warm the milk before adding it to the roux to speed up the thickening process.
Cook in a non-stick skillet: A non-stick skillet makes it easier to stir and prevents sticking, which saves cleanup time.
Double the recipe: Make a larger batch and store leftovers in the fridge for quick reheating later.
Sawmill Gravy Recipe
Ingredients
Main Ingredients
- ¼ cup Butter
- ¼ cup All-purpose flour
- 2 cups Milk
- ½ teaspoon Salt
- ½ teaspoon Black pepper
Instructions
- Melt butter in a skillet over medium heat.
- Whisk in flour and cook for 1-2 minutes.
- Gradually whisk in milk, stirring constantly until thickened.
- Season with salt and pepper. Serve hot.
Nutritional Value
Keywords
More Amazing Recipes to Try 🙂
- Scotch Bonnet Hot Sauce Recipe25 Minutes
- Air Fryer Whole Chicken Recipe1 Hours 10 Minutes
- Slow Cooker Chicken Recipe4 Hours 10 Minutes
- Banana Milkshake Recipe5 Minutes
- Baked Jalapeno Poppers Recipe35 Minutes
- Cranberry Pineapple Juice Recipe10 Minutes
- Carrot and Orange Juice Recipe10 Minutes
- Aebleskiver Recipe35 Minutes
Leave a Reply