
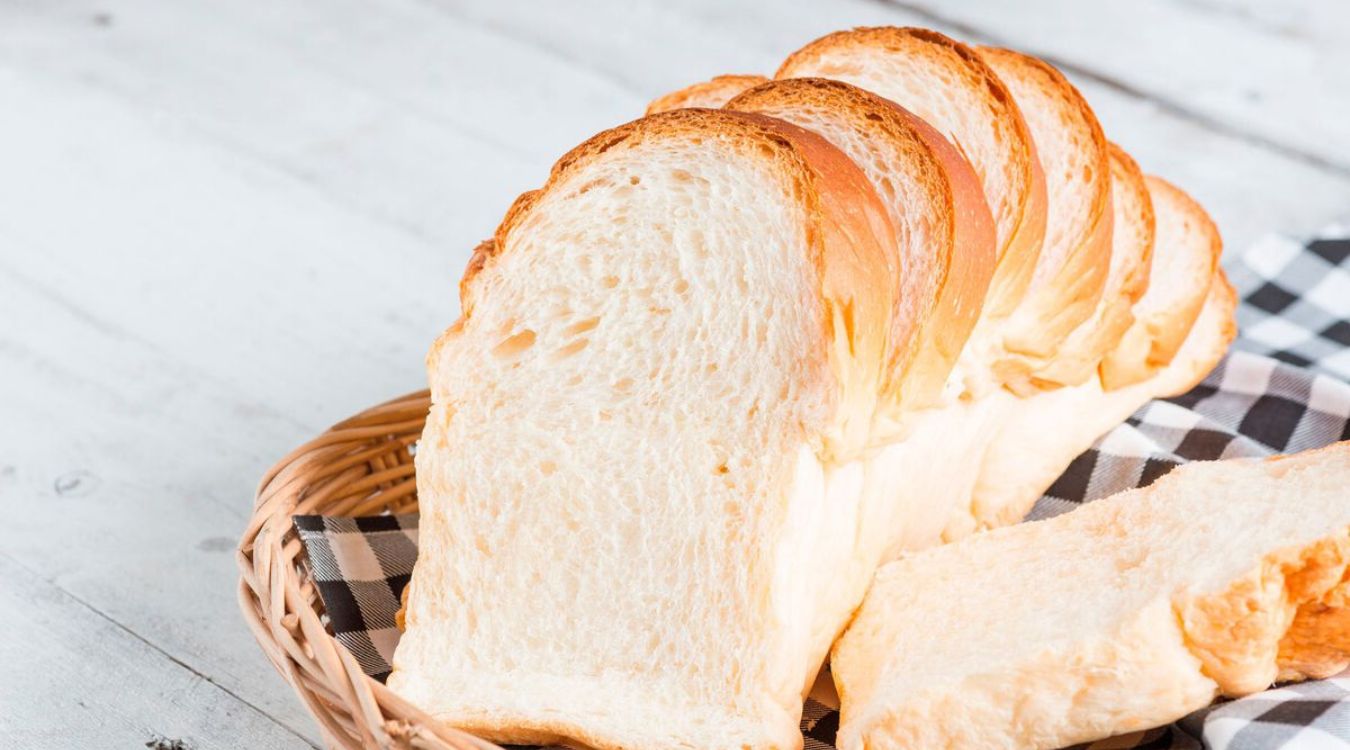
I love making this traditional white bread because it fills the house with a warm, comforting smell that feels like home. It’s a simple recipe that anyone can try, and the fresh bread tastes so much better than store-bought. I’m excited for you to try it and enjoy the process of baking your own loaf.
Most of the ingredients in this recipe are common pantry staples, but if you don’t have active dry yeast at home, you’ll want to pick some up at the supermarket. Yeast is what helps the bread rise and gives it that soft, fluffy texture. Also, make sure the water you use is warm, not hot, to help the yeast work properly.
Ingredients For Traditional White Bread Recipe
All-purpose flour: The main ingredient that gives the bread structure and texture.
Sugar: Adds a touch of sweetness and helps feed the yeast.
Salt: Enhances flavor and controls yeast activity.
Active dry yeast: A living ingredient that makes the dough rise.
Warm water: Activates the yeast and helps form the dough.
Vegetable oil: Keeps the bread soft and adds moisture.
Technique Tip for This Recipe
One of the most important steps in this Traditional White Bread Recipe is kneading the dough. Kneading might seem tricky at first, but it’s actually pretty simple once you get the hang of it. Here’s how you can do it step by step:
- Sprinkle a little flour on your clean surface to stop the dough from sticking.
- Put your dough on the floured surface and press it down with the heels of your hands.
- Fold the dough in half toward you, then push it away with your hands.
- Turn the dough a little and repeat the pressing, folding, and pushing.
- Keep going for about 10 minutes until the dough feels smooth and stretchy.
Kneading helps mix everything really well and builds up the gluten in the flour. Gluten is what gives bread its chewy texture and helps it rise nicely. If you don’t knead enough, your bread might turn out dense or crumbly instead of soft and fluffy.
When I first tried kneading, I thought I had to be super strong and fast, but it’s really about steady, even pressure. Sometimes I get tired halfway through, so I take a quick break and then finish up. Also, if your dough feels too sticky, just sprinkle a bit more flour on your hands or the surface. Just don’t add too much or the bread can get dry.
Once you get comfortable with kneading, it’s kind of fun to feel the dough change from sticky and rough to smooth and stretchy. It’s like the dough is coming to life! Plus, kneading is a great way to get your hands a little messy and really connect with the bread you’re making.
Suggested Side Dishes
Alternative Ingredients
all-purpose flour - Substitute with whole wheat flour: Whole wheat flour adds more fiber and nutrients, though it may result in a denser loaf.
all-purpose flour - Substitute with gluten-free flour blend: For those with gluten intolerance, a gluten-free blend can be used, though the texture may vary.
sugar - Substitute with honey: Honey adds a natural sweetness and moisture to the bread.
sugar - Substitute with maple syrup: Maple syrup provides a unique flavor and natural sweetness.
salt - Substitute with sea salt: Sea salt can offer a slightly different mineral content and flavor.
salt - Substitute with kosher salt: Kosher salt has larger grains and a purer taste.
active dry yeast - Substitute with instant yeast: Instant yeast can be mixed directly with dry ingredients and may rise faster.
active dry yeast - Substitute with fresh yeast: Fresh yeast can provide a more robust flavor but requires a different measurement and activation process.
warm water - Substitute with milk: Milk can add richness and a softer texture to the bread.
warm water - Substitute with buttermilk: Buttermilk adds a tangy flavor and tender crumb.
vegetable oil - Substitute with olive oil: Olive oil adds a distinct flavor and healthy fats.
vegetable oil - Substitute with melted butter: Melted butter adds richness and a buttery flavor.
Other Alternative Recipes Similar to This Bread
How to Store or Freeze Your Bread
Allow the bread to cool completely on a wire rack before storing. This prevents condensation from forming inside the storage container, which can make the bread soggy.
For short-term storage, place the bread in a bread box or wrap it in a clean kitchen towel. This helps maintain the crust's texture while keeping the interior soft.
If you prefer using plastic, wrap the bread tightly in plastic wrap or place it in a resealable plastic bag. This method is effective for keeping the bread fresh for up to 3 days at room temperature.
For longer storage, consider freezing the bread. Slice the loaf before freezing so you can easily take out just what you need. Wrap individual slices or the whole loaf in plastic wrap, then place in a resealable freezer bag. This helps prevent freezer burn and keeps the bread fresh for up to 3 months.
When you're ready to enjoy the frozen bread, remove the desired amount from the freezer and let it thaw at room temperature. For a quicker option, you can also toast the slices directly from the freezer.
If you want to refresh the bread after thawing, preheat your oven to 350°F (175°C), wrap the bread in aluminum foil, and bake for about 10 minutes. This will help restore some of the original texture and warmth.
Avoid storing bread in the refrigerator, as this can cause it to dry out more quickly. The cool temperature accelerates the staling process, making the bread less enjoyable.
If you notice the bread starting to go stale, don't throw it away. Stale bread can be repurposed into delicious croutons, bread pudding, or even breadcrumbs for other recipes.
How to Reheat Leftovers
Oven Reheat: Preheat your oven to 350°F (175°C). Wrap the bread loaf in aluminum foil to prevent it from drying out. Place it on the middle rack and heat for about 10-15 minutes. This method will give you a warm, slightly crispy crust while keeping the inside soft.
Toaster Oven: Slice the bread and place the slices directly on the toaster oven rack. Set the toaster oven to 350°F (175°C) and heat for 5-7 minutes. This method is perfect for achieving a crispy texture on the outside while keeping the inside tender.
Microwave: Place a slice of bread on a microwave-safe plate. Cover it with a damp paper towel to retain moisture. Microwave on medium power for 10-15 seconds. This method is quick but may result in a softer crust.
Stovetop Skillet: Heat a non-stick skillet over medium heat. Place the bread slices in the skillet and cover with a lid. Heat for 2-3 minutes on each side. This method will give you a nice, toasty exterior while keeping the inside soft and warm.
Steam Reheat: Place a steaming rack in a pot with a small amount of water. Bring the water to a simmer. Place the bread on the rack, cover the pot, and steam for 5-7 minutes. This method will keep the bread moist and soft, perfect for those who prefer a tender texture.
Air Fryer: Preheat your air fryer to 320°F (160°C). Place the bread slices in the basket in a single layer. Heat for 3-5 minutes, checking halfway through to ensure it doesn't get too crispy. This method is great for a quick and even reheat with a slight crunch.
Best Tools for Baking This Bread
Mixing bowl: A large container used to combine the flour, sugar, salt, and yeast together.
Measuring cups: Essential for accurately measuring the flour and warm water.
Measuring spoons: Used to measure out the sugar, salt, and active dry yeast.
Wooden spoon: Handy for mixing the ingredients until a dough forms.
Floured surface: A clean, flat area dusted with flour where you will knead the dough.
Hands: Your best tools for kneading the dough until it becomes smooth and elastic.
Greased bowl: A bowl coated with a thin layer of oil to prevent the dough from sticking while it rises.
Clean kitchen towel: Used to cover the dough while it rises to keep it warm and moist.
Loaf pan: A greased pan where you will place the shaped dough for its final rise and baking.
Oven: Preheated to 375°F (190°C) for baking the bread to a golden brown.
Wire rack: A cooling rack where the bread will cool down after baking.
Knife: Used for slicing the bread once it has cooled.
How to Save Time on This Recipe
Measure ingredients in advance: Prepare all ingredients beforehand to streamline the process.
Use a stand mixer: A stand mixer can knead the dough more efficiently than by hand.
Warm environment for rising: Place the dough in a slightly warm oven to speed up the rising process.
Preheat the oven early: Start preheating your oven while the dough is rising to save time.
Double batch: Make a double batch and freeze one loaf for later use.
Traditional White Bread Recipe
Ingredients
Main Ingredients
- 4 cups All-purpose flour
- 1 tablespoon Sugar
- 2 teaspoon Salt
- 1 tablespoon Active dry yeast
- 1.5 cups Warm water
- 2 tablespoon Vegetable oil
Instructions
- 1. In a large mixing bowl, combine the flour, sugar, salt, and yeast.
- 2. Add the warm water and vegetable oil. Mix until a dough forms.
- 3. Knead the dough on a floured surface for about 10 minutes, until smooth and elastic.
- 4. Place the dough in a greased bowl, cover, and let rise in a warm place for about 1 hour, or until doubled in size.
- 5. Punch down the dough and shape it into a loaf. Place in a greased loaf pan.
- 6. Cover and let rise again for about 30 minutes, or until doubled.
- 7. Preheat the oven to 375°F (190°C). Bake the bread for 30 minutes, or until golden brown.
- 8. Remove from the oven and let cool on a wire rack before slicing.
Nutritional Value
Keywords
More Amazing Recipes to Try 🙂
- Cranberry Pineapple Juice Recipe10 Minutes
- Carrot and Orange Juice Recipe10 Minutes
- Aebleskiver Recipe35 Minutes
- Vegan Coconut Curry with Pasta and Vegetables Recipe40 Minutes
- Buffalo Chicken Pasta Salad Recipe35 Minutes
- Jibarito Recipe50 Minutes
- Watermelon Cooler Slushy Recipe10 Minutes
- Steak Marinade Recipe10 Minutes
Leave a Reply