
I love making this Australian damper because it’s simple and reminds me of cozy campfire days. It’s a great way to enjoy fresh, warm bread without needing a lot of fancy ingredients. Scroll down to see how easy it is to bake your own loaf at home!
Most of the ingredients for this recipe are probably already in your kitchen, but if you don’t have self-raising flour, that’s the one to look for at the supermarket. It’s just regular flour with baking powder added, which helps the bread rise without yeast. Also, cold butter is important here because it helps create a nice crumbly texture when mixed with the flour.
Ingredients For Australian Damper Recipe
SELF-RAISING FLOUR: This is flour that already has baking powder mixed in, so it helps the bread rise without needing yeast.
SALT: Adds flavor to the bread and balances the taste.
MILK: Helps bring the dough together and adds moisture.
BUTTER: Cold and cubed, it’s rubbed into the flour to create a soft, crumbly texture in the dough.
Technique Tip for This Recipe
One of the most important steps in making this Australian Damper is rubbing the cold, cubed butter into the flour. This might sound a bit tricky at first, but it’s actually pretty simple once you get the hang of it. Here’s how you do it:
- Take the cold butter cubes and add them to the bowl with the flour and salt.
- Use your fingertips to gently press and rub the butter into the dry ingredients.
- Keep rubbing until the mixture looks like tiny crumbs or breadcrumbs—not too smooth, but not chunky either.
Doing this step right is super helpful because it makes the damper light and fluffy instead of heavy and dense. The little bits of butter melt in the oven, creating tiny pockets of air that give the bread a nice texture. If you skip this or don’t rub the butter in well, the damper might turn out tough or chewy.
When I first tried this, I pressed too hard and the butter melted in my hands, which made the dough sticky and harder to work with. Now, I try to keep my hands cool and work quickly. Sometimes I even pop the butter back in the fridge for a few minutes if it starts to get soft. It really helps keep the texture just right.
So, take your time with this step and enjoy the feeling of turning simple ingredients into something delicious. It’s a little bit like magic, and it’s one of the secrets to making a perfect damper!
Suggested Side Dishes
Alternative Ingredients
self-raising flour - Substitute with all-purpose flour: Mix 3 cups of all-purpose flour with 4 ½ teaspoons of baking powder and ¾ teaspoon of salt to create a similar leavening effect.
salt - Substitute with sea salt: Sea salt can be used in the same quantity and provides a slightly different flavor profile.
milk - Substitute with buttermilk: Buttermilk adds a tangy flavor and helps in making the damper more tender.
cold, cubed butter - Substitute with margarine: Margarine can be used in the same quantity and will provide a similar texture and moisture.
Other Alternative Recipes Similar to This
How to Store / Freeze This Recipe
Allow the damper to cool completely to room temperature before storing. This prevents condensation from forming, which can make the bread soggy.
Wrap the damper tightly in plastic wrap or aluminum foil. This helps to keep the bread fresh and prevents it from drying out.
Place the wrapped damper in an airtight container or a resealable plastic bag. Store it at room temperature for up to 2 days.
For longer storage, you can freeze the damper. Wrap it tightly in plastic wrap and then in a layer of aluminum foil to prevent freezer burn.
Label the package with the date to keep track of its freshness. The damper can be frozen for up to 3 months.
When ready to use, thaw the damper at room temperature. To refresh its texture, you can warm it in a preheated oven at 180°C (350°F) for about 10 minutes.
If you prefer, you can slice the damper before freezing. This allows you to take out only the amount you need without thawing the entire loaf.
For individual slices, place a piece of parchment paper between each slice before wrapping and freezing. This prevents the slices from sticking together.
To reheat individual slices, you can use a toaster or a microwave. For the microwave, wrap the slice in a damp paper towel and heat for about 20 seconds to avoid drying out.
Enjoy your damper with a spread of butter, jam, or even a drizzle of honey for a delightful treat.
How to Reheat Leftovers
Oven Method:
- Preheat your oven to 180°C (350°F).
- Wrap the damper in aluminum foil to prevent it from drying out.
- Place it on a baking tray and heat for about 10-15 minutes, or until warmed through.
Microwave Method:
- Slice the damper into individual portions.
- Place a slice on a microwave-safe plate.
- Cover with a damp paper towel to retain moisture.
- Microwave on medium power for 20-30 seconds. Check and repeat if necessary.
Toaster Oven Method:
- Preheat your toaster oven to 180°C (350°F).
- Slice the damper into portions.
- Place the slices directly on the toaster oven rack.
- Heat for about 5-7 minutes, or until the crust is crispy and the inside is warm.
Stovetop Method:
- Slice the damper into portions.
- Heat a skillet over medium heat.
- Add a small amount of butter or olive oil to the skillet.
- Place the slices in the skillet and heat for 2-3 minutes on each side, or until warmed through and slightly crispy.
Steaming Method:
- Slice the damper into portions.
- Place the slices in a steamer basket.
- Steam over boiling water for about 5 minutes, or until heated through.
Best Tools for This Recipe
Oven: Preheat to 200°C (390°F) to bake the damper until golden brown.
Mixing bowl: Combine the flour and salt, and mix in the butter and milk to form the dough.
Baking tray: Place the shaped dough on this tray for baking.
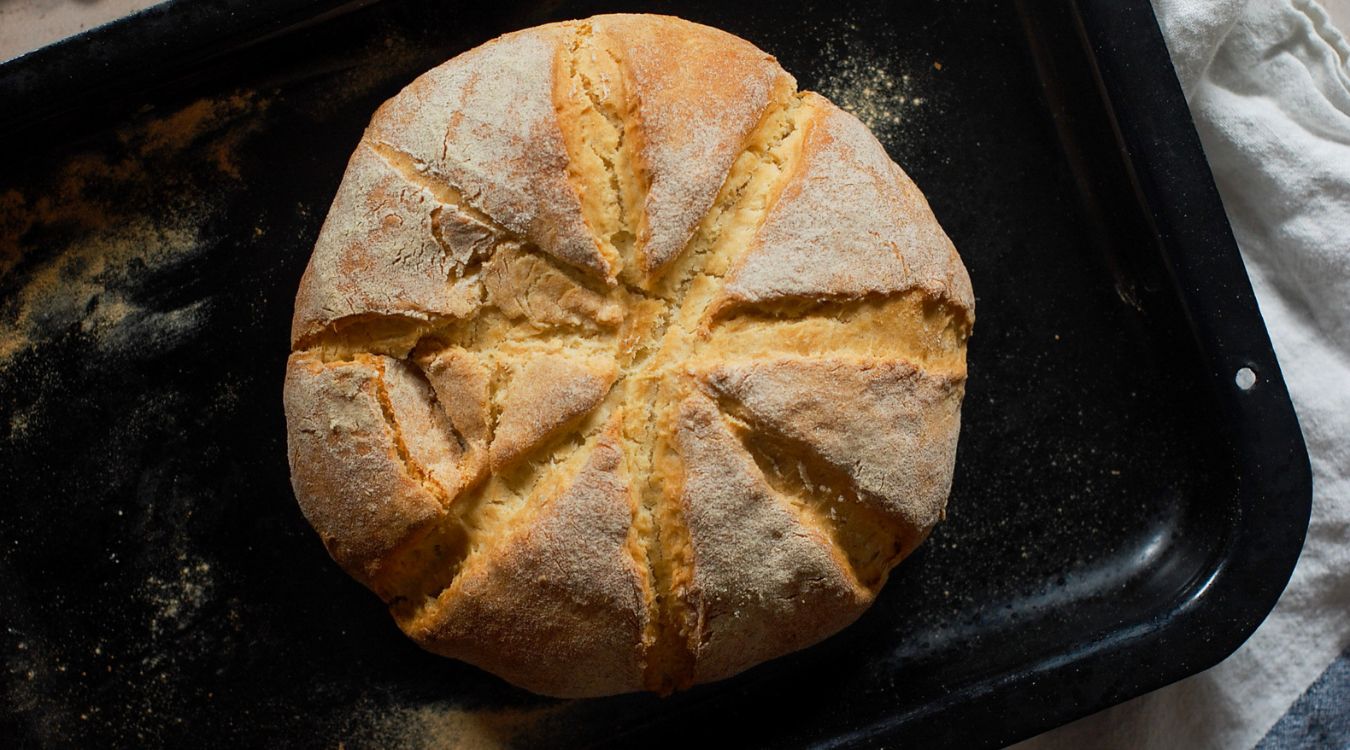
Knife: Score the top of the dough before baking to help it expand evenly.
Measuring cups: Measure out the flour and milk accurately.
Measuring spoons: Measure the salt and butter precisely.
Pastry cutter: Rub the cold, cubed butter into the flour until the mixture resembles breadcrumbs.
Floured surface: Knead the dough gently on this surface to prevent sticking.
Cooling rack: Let the damper cool slightly on this rack before serving.
How to Save Time on Making This Recipe
Pre-measure ingredients: Measure out the flour, salt, and milk ahead of time to streamline the process.
Use cold butter: Keep the butter in the fridge until you're ready to use it. This makes it easier to rub into the flour mixture quickly.
Mix efficiently: Use a fork to combine the milk and flour mixture to form a soft dough faster.
Minimal kneading: Knead the dough just enough to bring it together. Over-kneading can make it tough and takes extra time.
Preheat the oven: Start preheating your oven before you begin mixing ingredients to save waiting time.
Australian Damper Recipe
Ingredients
Main Ingredients
- 3 cups Self-raising flour
- 1 teaspoon Salt
- 1 cup Milk
- 1 tablespoon Butter cold, cubed
Instructions
- Preheat your oven to 200°C (390°F).
- In a mixing bowl, combine the flour and salt.
- Add the cubed butter and rub it into the flour until the mixture resembles breadcrumbs.
- Make a well in the center and pour in the milk. Mix until a soft dough forms.
- Turn the dough onto a floured surface and knead gently for a minute.
- Shape the dough into a round loaf and place it on a baking tray.
- Score the top with a knife and bake for 30 minutes or until golden brown.
- Let it cool slightly before serving.
Nutritional Value
Keywords
More Amazing Recipes to Try 🙂
- Air Fryer Whole Chicken Recipe1 Hours 10 Minutes
- Slow Cooker Chicken Recipe4 Hours 10 Minutes
- Banana Milkshake Recipe5 Minutes
- Baked Jalapeno Poppers Recipe35 Minutes
- Cranberry Pineapple Juice Recipe10 Minutes
- Carrot and Orange Juice Recipe10 Minutes
- Aebleskiver Recipe35 Minutes
- Vegan Coconut Curry with Pasta and Vegetables Recipe40 Minutes
Leave a Reply