
I love making this quinoa pilaf because it’s simple, healthy, and full of flavor. It’s one of those dishes that feels cozy and fresh at the same time, perfect for any meal. I think you’ll enjoy how easy it is to prepare and how tasty it turns out!
Quinoa might be new to some kitchens, but it’s a great grain that cooks quickly and has a nutty taste. You can find it in most supermarkets, usually near the rice or health food section. Vegetable broth is another ingredient to look for if you don’t have it at home—it adds a lot of flavor without extra effort.
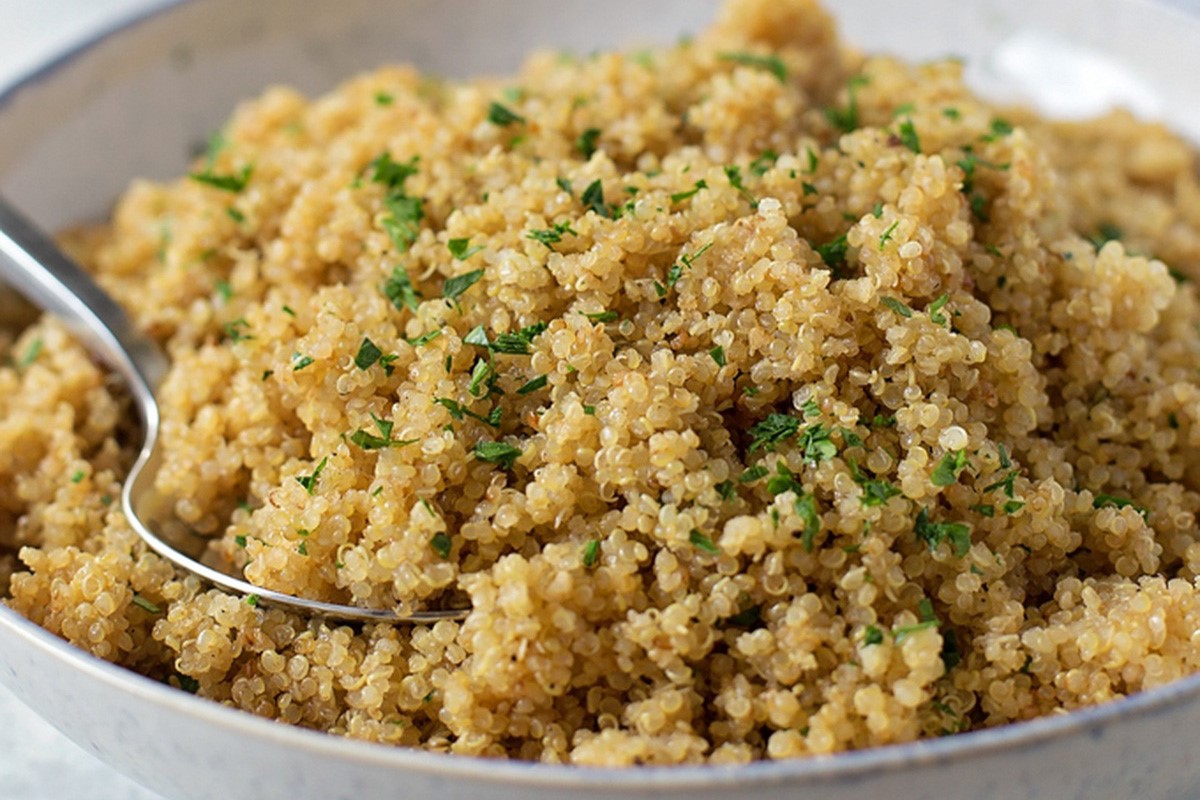
Ingredients For Quinoa Pilaf Recipe
Quinoa: A tiny grain that cooks fast and has a slightly nutty flavor.
Vegetable broth: A flavorful liquid used to cook the quinoa, making it taste richer.
Olive oil: Adds a smooth, fruity taste and helps sauté the onion and garlic.
Onion: Gives a sweet and savory base flavor when cooked.
Garlic: Adds a sharp, aromatic punch to the dish.
Salt: Enhances all the flavors in the pilaf.
Black pepper: Adds a little bit of heat and depth.
Parsley: Fresh herb that brightens the dish with its color and taste.
Technique Tip for This Recipe
One of the most important steps in this Quinoa Pilaf Recipe is sautéing the onion and garlic until they’re translucent. This means cooking them just long enough so they become soft and a little see-through, but not browned. Here’s how to do it:
- Heat your olive oil in the saucepan over medium heat.
- Add the chopped onion and minced garlic to the pan.
- Stir them often so they cook evenly and don’t stick or burn.
- Keep cooking until the onion pieces look soft and a bit see-through—this usually takes about 5 minutes.
Doing this step right makes a big difference because it brings out the natural sweetness and flavor of the onion and garlic. If you skip it or rush it, your pilaf might taste flat or raw. Plus, sautéing helps the quinoa soak up those tasty flavors when you add it next.
When I first tried this, I didn’t stir enough and some garlic burned, which made the whole dish taste bitter. Now, I keep a close eye on the pan and stir every minute or so. Also, if you want to save time, you can chop the onion and garlic while the oil is heating up—that way, you’re ready to go as soon as the pan is hot.
This simple step is like the flavor base for your quinoa pilaf, so don’t rush it. Taking a little extra time here makes the whole dish taste way better and more comforting.
Suggested Side Dishes
Alternative Ingredients
quinoa - Substitute with bulgur wheat: Bulgur wheat has a similar texture and nutty flavor, making it a great alternative to quinoa in pilaf recipes.
vegetable broth - Substitute with chicken broth: Chicken broth can add a richer flavor to the pilaf, though it will no longer be vegetarian.
olive oil - Substitute with coconut oil: Coconut oil provides a subtle sweetness and is a good alternative for sautéing vegetables.
onion - Substitute with shallots: Shallots offer a milder and slightly sweeter flavor compared to onions, which can enhance the overall taste of the pilaf.
garlic - Substitute with garlic powder: Garlic powder can be used in place of fresh garlic, though it will have a less intense flavor.
salt - Substitute with soy sauce: Soy sauce can add a savory depth and umami flavor, but use it sparingly to avoid overpowering the dish.
black pepper - Substitute with white pepper: White pepper has a milder flavor and can be used if you prefer a less pungent taste.
parsley - Substitute with cilantro: Cilantro offers a fresh and citrusy flavor, providing a different but complementary taste to the pilaf.
Other Alternative Recipes Similar to This Dish
How to Store or Freeze This Dish
Allow the quinoa pilaf to cool completely before storing. This prevents condensation, which can make the pilaf soggy.
Transfer the cooled quinoa pilaf into an airtight container. This helps maintain its freshness and prevents it from absorbing any unwanted odors from the fridge.
Store the container in the refrigerator for up to 5 days. The quinoa pilaf will retain its flavor and texture during this time.
For longer storage, consider freezing. Portion the quinoa pilaf into individual servings using freezer-safe bags or containers. This makes it easy to defrost only what you need.
Label each container with the date of freezing. This helps you keep track of how long the quinoa pilaf has been stored.
When ready to enjoy, defrost the quinoa pilaf in the refrigerator overnight. This gradual thawing preserves the texture and taste.
Reheat the quinoa pilaf on the stovetop or in the microwave. Add a splash of vegetable broth or olive oil to restore moisture if needed.
Garnish with fresh parsley or a squeeze of lemon juice before serving to enhance the flavors and give it a fresh touch.
How to Reheat Leftovers
Gently reheat the quinoa pilaf on the stovetop by adding a splash of vegetable broth or olive oil to a skillet. Warm over medium-low heat, stirring occasionally to ensure even heating and to prevent sticking.
Use the microwave for a quick fix. Place the quinoa pilaf in a microwave-safe dish, sprinkle a few drops of water or vegetable broth over it, and cover with a microwave-safe lid or damp paper towel. Heat on medium power in 30-second intervals, fluffing with a fork in between, until heated through.
For a delightful twist, transform your leftovers into a crispy delight by spreading the quinoa pilaf on a baking sheet. Drizzle with a bit of olive oil and bake in a preheated oven at 350°F (175°C) for about 10-15 minutes, stirring halfway through, until warmed and slightly crispy.
If you're feeling adventurous, toss the quinoa pilaf into a steamer basket and steam over simmering water for about 5-7 minutes. This method helps retain moisture and keeps the quinoa fluffy.
Incorporate the quinoa pilaf into a fresh vegetable stir-fry. Heat a bit of olive oil in a pan, add your choice of vegetables, and once they're nearly cooked, mix in the quinoa pilaf. Stir-fry until everything is heated through.
Essential Tools for This Recipe
Fine-mesh strainer: Use this to rinse the quinoa under cold water, ensuring any bitterness is removed.
Saucepan: This is essential for cooking the quinoa and vegetable broth together.
Wooden spoon: Ideal for stirring the onion, garlic, and quinoa without scratching your cookware.
Chef's knife: Perfect for chopping the onion and parsley with precision.
Cutting board: Provides a stable surface for chopping the onion and parsley.
Measuring cups: Necessary for accurately measuring the quinoa and vegetable broth.
Measuring spoons: Use these to measure the olive oil, salt, and pepper accurately.
Lid for saucepan: Helps to cover the saucepan while the quinoa simmers, trapping steam and heat.
Fork: Useful for fluffing the quinoa once it's cooked, ensuring a light and airy texture.
How to Save Time on This Recipe
Rinse ahead: Rinse the quinoa in advance and store it in the fridge. This step removes bitterness and saves time when you're ready to cook.
Pre-chop ingredients: Chop the onion and garlic earlier in the day or the night before. Store them in airtight containers to keep them fresh.
Batch cook: Make a larger batch of quinoa pilaf and refrigerate or freeze portions for quick meals throughout the week.
Use a rice cooker: If you have a rice cooker, use it to cook the quinoa. It frees up your stove and requires less attention.
Quinoa Pilaf Recipe
Ingredients
Main Ingredients
- 1 cup Quinoa
- 2 cups Vegetable Broth
- 1 tablespoon Olive Oil
- 1 Onion, chopped
- 2 cloves Garlic, minced
- 1 teaspoon Salt
- 1 teaspoon Black Pepper
- ¼ cup Chopped Parsley
Instructions
- 1. Rinse the quinoa under cold water.
- 2. In a saucepan, heat the olive oil over medium heat.
- 3. Add the chopped onion and garlic, and sauté until translucent.
- 4. Add the quinoa and cook for a few minutes, stirring frequently.
- 5. Pour in the vegetable broth, add salt and pepper, and bring to a boil.
- 6. Reduce heat to low, cover, and simmer for 15-20 minutes, or until the quinoa is tender and the liquid is absorbed.
- 7. Fluff with a fork and stir in chopped parsley before serving.
Nutritional Value
Keywords
Suggested Appetizers and Desserts
More Amazing Recipes to Try 🙂
- Island Style Fried Rice Recipe30 Minutes
- German Apple Pancake Recipe35 Minutes
- Tropical Shrimp Dipping Sauce Recipe10 Minutes
- Pigs in a Blanket Recipe25 Minutes
- Garden Pasta Salad Recipe25 Minutes
- Blue Motorcycle Recipe5 Minutes
- Roasted Vegetable Sauce Recipe1 Hours
- Sincronizada Recipe15 Minutes
Leave a Reply