
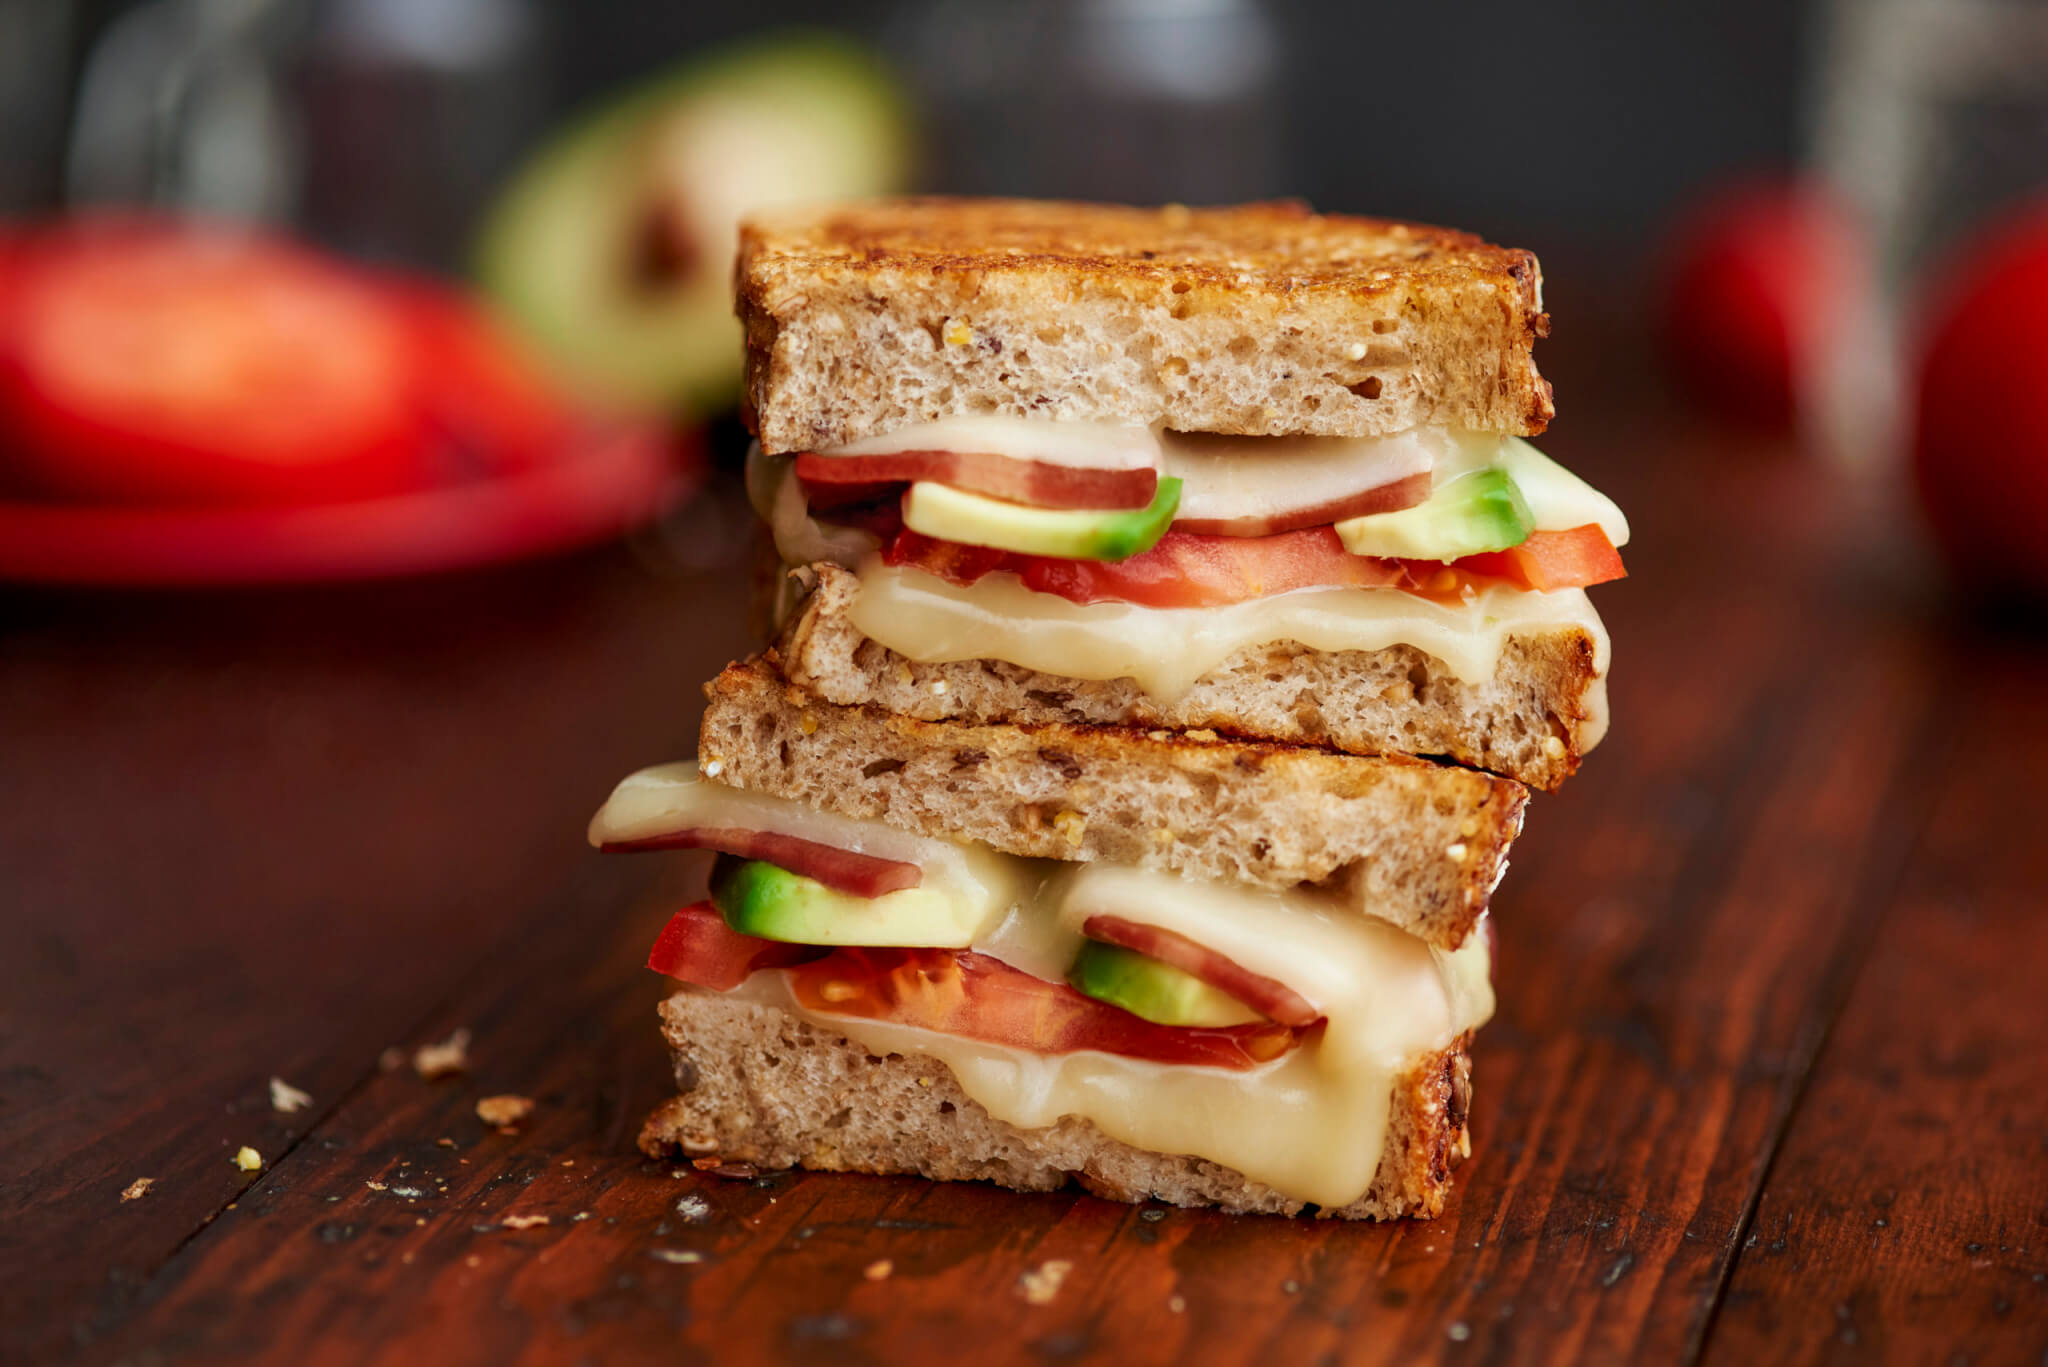
I love this cheddar pear panini because it’s a simple way to make a snack feel special. The mix of melty cheese and sweet pear is one of my favorite combos, and it’s perfect for a quick lunch or after-school treat. I can’t wait for you to try it and see how easy it is to make something delicious with just a few ingredients.
Most of the ingredients in this recipe are easy to find at home or in any grocery store. Pears might not always be in your kitchen, so when you go shopping, look for a firm but ripe pear that’s thinly sliced for the best texture. Cheddar cheese is common, but picking a sharp or mild one depends on your taste. Butter and bread are usually pantry staples, but fresh bread will make your panini extra tasty.
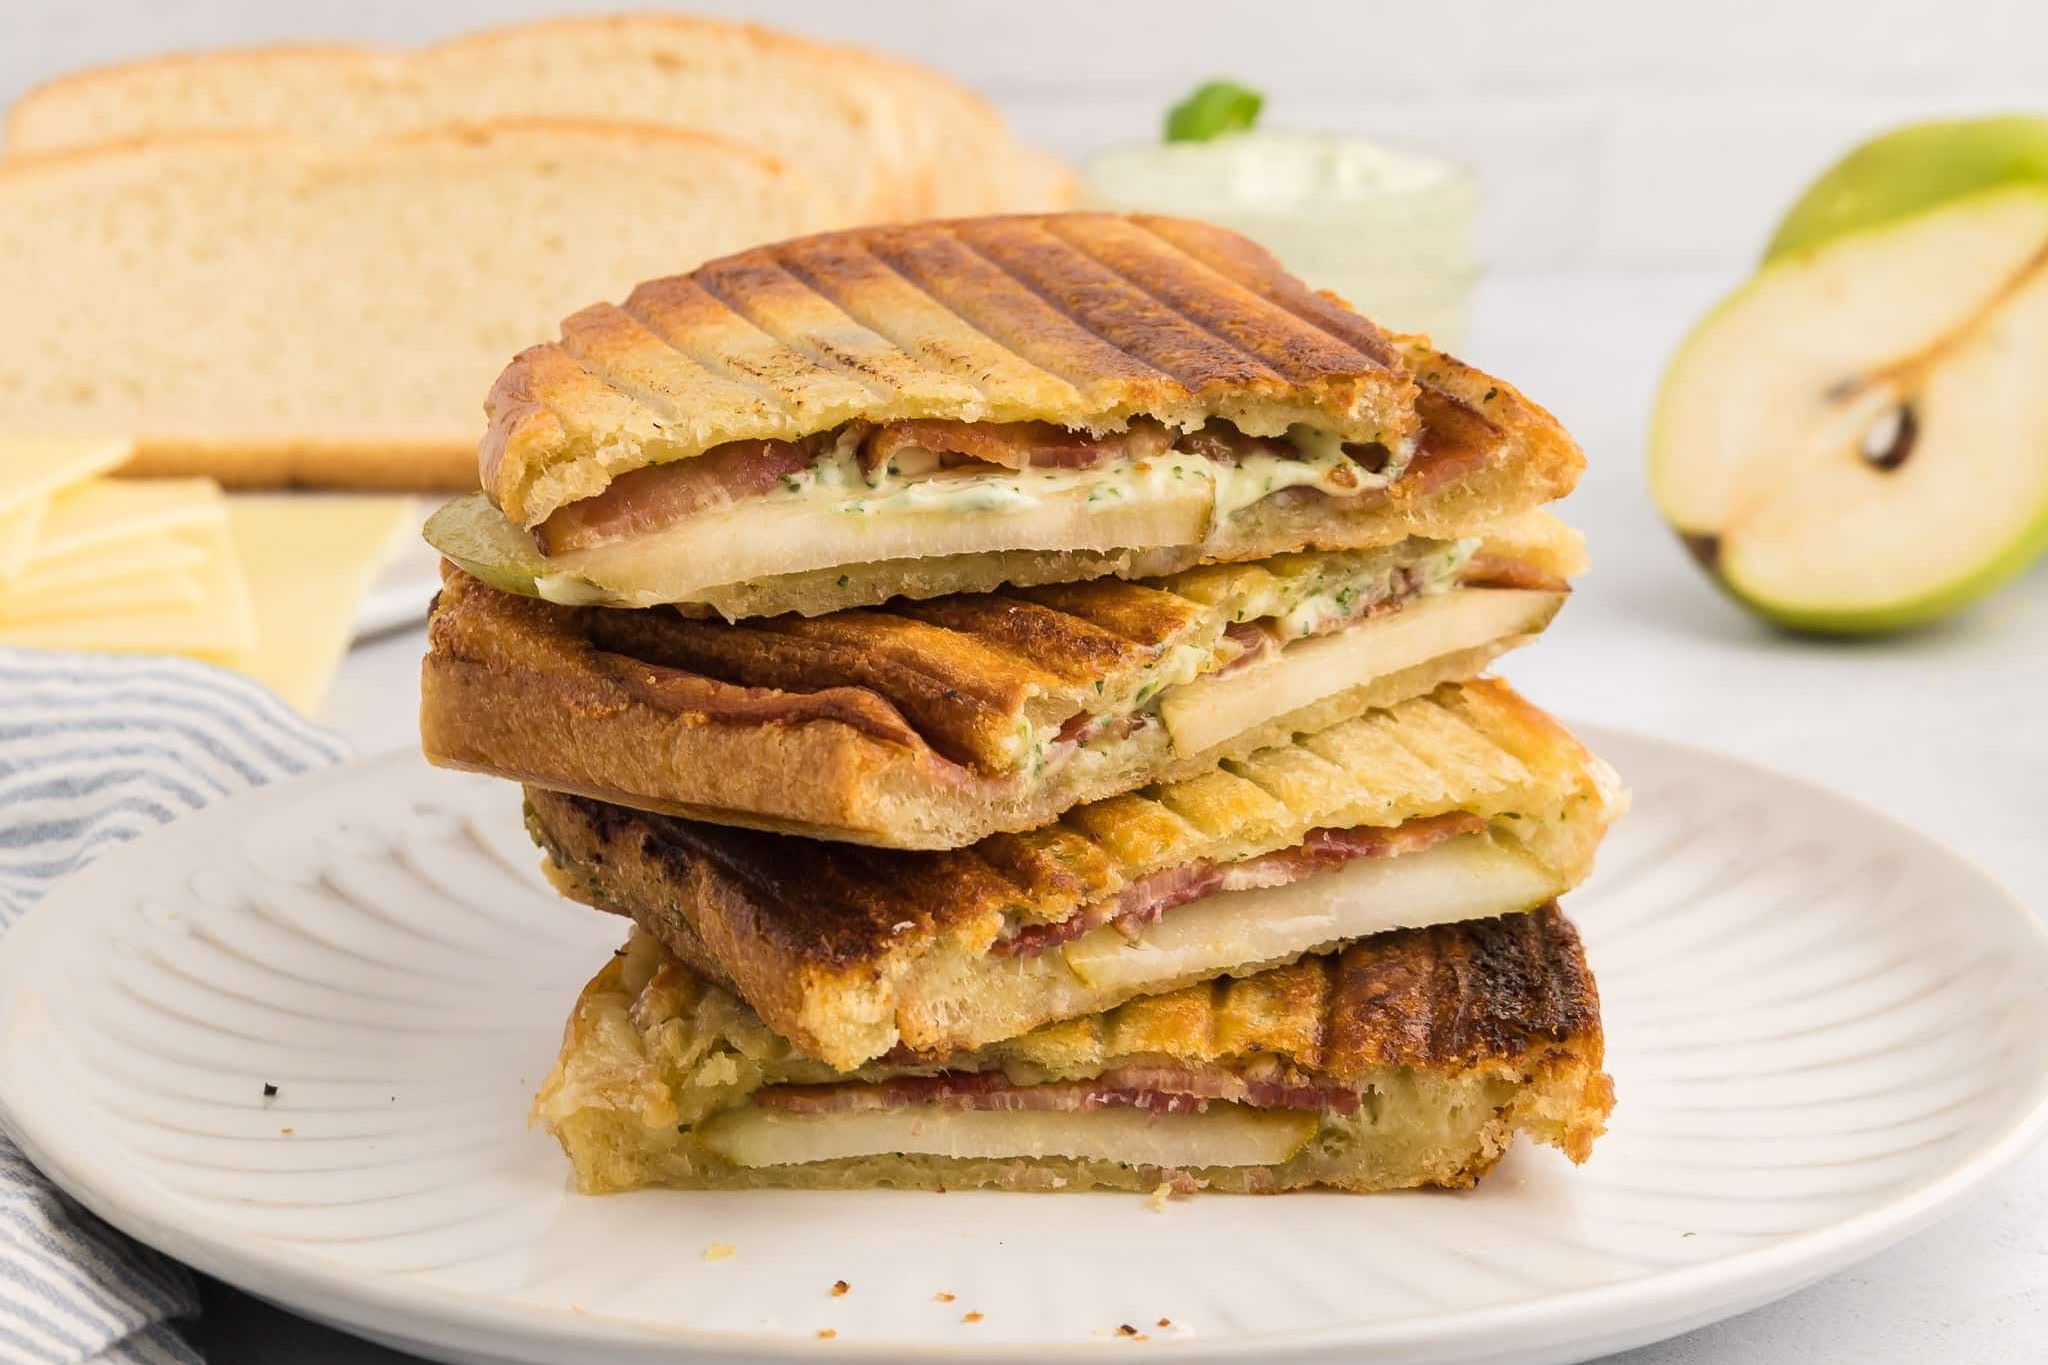
Cheddar Pear Panini Ingredients
Bread: The base of your panini, bread holds all the flavors together and crisps up nicely when grilled.
Pear: Thinly sliced pear adds a sweet and juicy contrast to the savory cheese.
Cheddar cheese: This cheese melts perfectly and brings a rich, sharp flavor to the sandwich.
Butter: Butter is spread on the outside of the bread to help it brown and get crispy while cooking.
Technique Tip for This Panini
One of the most important steps in making your Cheddar Pear Panini taste just right is buttering the bread properly. It might seem simple, but doing it the right way helps your sandwich get that perfect golden brown crust and keeps it from sticking to the pan or press. Here’s how you can do it step by step:
- Start with softened butter. If it’s too hard, it won’t spread evenly and might tear the bread.
- Use a butter knife or a small spatula to scoop a little bit of butter.
- Spread the butter gently over one side of each slice of bread. Try to cover the whole surface but don’t pile it on too thick.
- Make sure the buttered side is facing out when you put the sandwich together. This way, the bread will crisp up nicely when it hits the hot pan or panini press.
Doing this makes cooking smoother because the butter helps the bread brown evenly and gives it a rich flavor. It also stops the sandwich from sticking, so flipping or removing it is much easier. Plus, that golden crust adds a nice crunch that makes every bite more fun.
When I first tried this, I didn’t spread the butter evenly and ended up with some burnt spots and some parts that were still pale. After that, I learned to take my time and spread it carefully. A little tip: if you don’t have softened butter, you can microwave it for just a few seconds, but watch it closely so it doesn’t melt completely. That way, it’s easier to spread without tearing the bread.
Suggested Side Dishes
Alternative Ingredients
bread - Substitute with sourdough bread: Sourdough adds a tangy flavor and a chewy texture that pairs well with the sweetness of the pear.
bread - Substitute with whole grain bread: Whole grain bread provides a nutty flavor and additional fiber, making the panini healthier.
thinly sliced pear - Substitute with thinly sliced apple: Apples offer a similar sweetness and crisp texture, making them a good alternative.
thinly sliced pear - Substitute with figs: Figs provide a unique sweetness and a slightly chewy texture that complements the cheese.
sliced cheddar cheese - Substitute with sliced gouda cheese: Gouda has a creamy texture and a mild, slightly sweet flavor that pairs well with fruit.
sliced cheddar cheese - Substitute with sliced brie cheese: Brie offers a rich, creamy texture and a mild flavor that enhances the overall taste of the panini.
butter - Substitute with olive oil: Olive oil provides a healthier fat option and adds a subtle, fruity flavor to the panini.
butter - Substitute with margarine: Margarine can be used as a dairy-free alternative to butter, offering a similar texture and spreadability.
Other Alternative Recipes Similar to This Panini
How to Store or Freeze This Panini
- Allow the panini to cool completely before storing. This prevents condensation, which can make the bread soggy.
- Wrap each sandwich individually in plastic wrap or aluminum foil to maintain freshness and prevent them from sticking together.
- Place the wrapped panini in an airtight container or a resealable plastic bag. This helps to keep out moisture and air, preserving the texture and flavor.
- Store in the refrigerator for up to 3 days. This ensures the cheddar cheese and pear slices remain fresh and safe to eat.
- For longer storage, freeze the panini. Place the wrapped sandwiches in a single layer on a baking sheet and freeze until solid. This prevents them from sticking together.
- Once frozen, transfer the panini to a resealable freezer bag or airtight container. Label with the date to keep track of freshness.
- To reheat, thaw the panini in the refrigerator overnight. This ensures even reheating without compromising the texture.
- Reheat in a panini press or skillet over medium heat until the bread is crispy and the cheese is melted. This brings back the original deliciousness of the cheddar pear panini.
- Avoid microwaving, as this can make the bread rubbery and the cheese unevenly melted.
How to Reheat Leftovers
Preheat your oven to 350°F (175°C). Wrap the panini in aluminum foil to retain moisture. Place it on a baking sheet and heat for about 10-15 minutes, or until the cheddar cheese is melted and the bread is crispy.
Use a skillet on medium heat. Place the panini in the skillet and cover it with a lid to help the cheese melt evenly. Flip occasionally until both sides are golden brown and the cheese is gooey.
If you have a toaster oven, set it to 350°F (175°C). Place the panini directly on the rack or on a baking sheet. Heat for about 10 minutes, checking to ensure the bread doesn't burn.
For a quick reheat, use a microwave. Wrap the panini in a damp paper towel to keep it from drying out. Microwave on medium power for 30-45 seconds, then check. If needed, continue in 15-second intervals until the cheese is melted.
If you have an air fryer, set it to 350°F (175°C). Place the panini in the basket and heat for about 5-7 minutes, or until the bread is crispy and the cheese is melted.
Best Tools for Making This Panini
Bread knife: A sharp knife to slice the bread evenly and cleanly.
Cutting board: A sturdy surface to safely slice the pear.
Panini press: A device to grill the sandwich evenly, giving it a crispy texture.
Skillet: An alternative to the panini press for grilling the sandwich on the stovetop.
Spatula: A tool to flip the sandwich in the skillet without breaking it.
Butter knife: A knife to spread butter evenly on the bread slices.
Cheese slicer: A tool to slice the cheddar cheese thinly and uniformly.
How to Save Time on Making This Panini
Pre-slice ingredients: Slice the pear and cheddar cheese ahead of time and store them in the fridge.
Use pre-sliced bread: Opt for pre-sliced bread to save time on preparation.
Butter in bulk: Butter all bread slices at once to streamline the process.
Preheat the panini press: Ensure your panini press or skillet is preheated for faster cooking.
Assemble in advance: Assemble the sandwiches and keep them in the fridge until ready to grill.
Cheddar Pear Panini Recipe
Ingredients
Main Ingredients
- 4 slices Bread
- 1 Pear thinly sliced
- 4 oz Cheddar Cheese sliced
- 2 tablespoon Butter
Instructions
- Butter one side of each bread slice.
- Place cheddar and pear slices between two slices of bread, buttered side out.
- Grill in a panini press or skillet until golden brown and cheese is melted.
Nutritional Value
Keywords
More Amazing Recipes to Try 🙂
- Pickled Watermelon Rinds Recipe30 Minutes
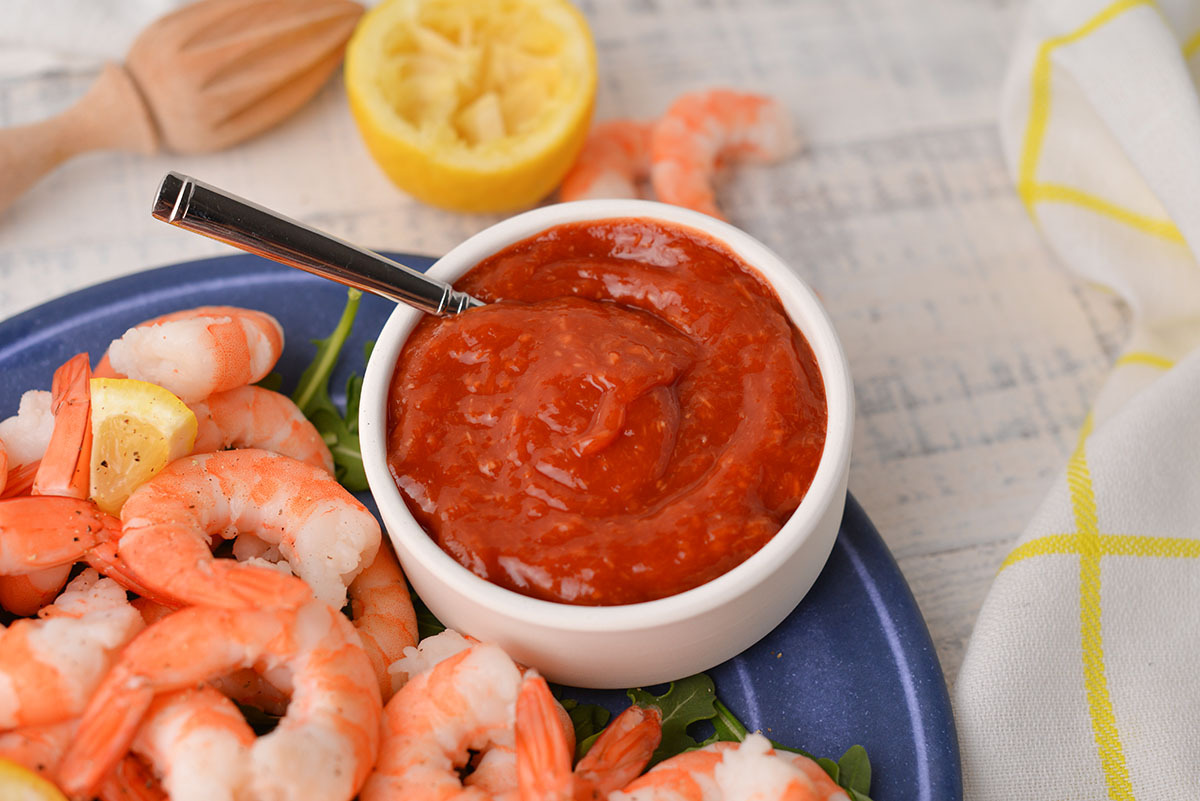
- Cocktail Sauce Recipe5 Minutes
- Mexican Sopes Recipe40 Minutes
- Traditional Mexican Street Tacos Recipe30 Minutes
- Eggless French Toast Recipe20 Minutes
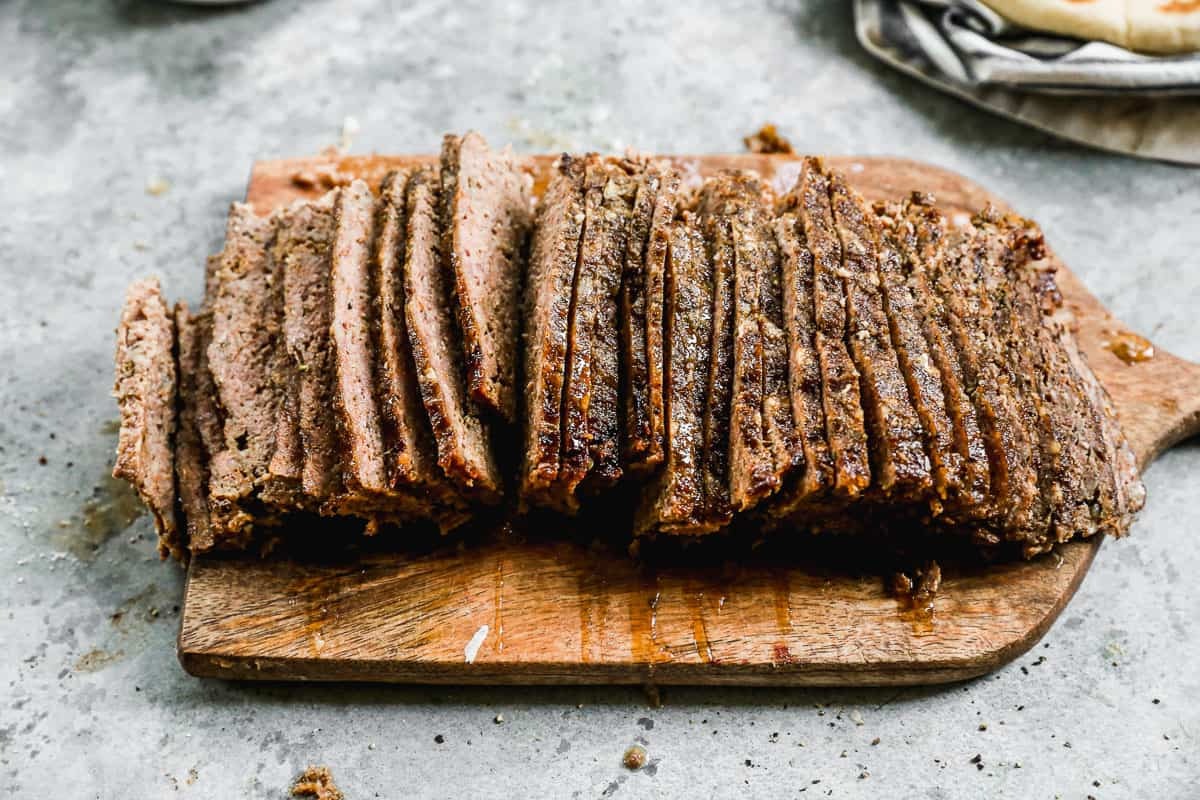
- Traditional Gyro Meat Recipe1 Hours 20 Minutes
- Sea Scallops and Angel Hair Pasta Recipe30 Minutes
- Swedish Glogg Recipe40 Minutes







Leave a Reply