
I love this air fryer chickpeas recipe because it turns simple ingredients into a crunchy, flavorful snack that feels special but is super easy to make. It’s one of my go-to recipes when I want something tasty and healthy without spending too much time in the kitchen. I can’t wait for you to try it and see how crispy and delicious these little chickpeas get!
Most of the ingredients in this recipe are probably already in your kitchen, like olive oil, salt, and garlic powder. If you don’t have paprika, it’s a spice you can find in the spice aisle of most supermarkets—it adds a nice smoky flavor. Chickpeas usually come canned and ready to use, so just make sure to rinse and drain them well before cooking.
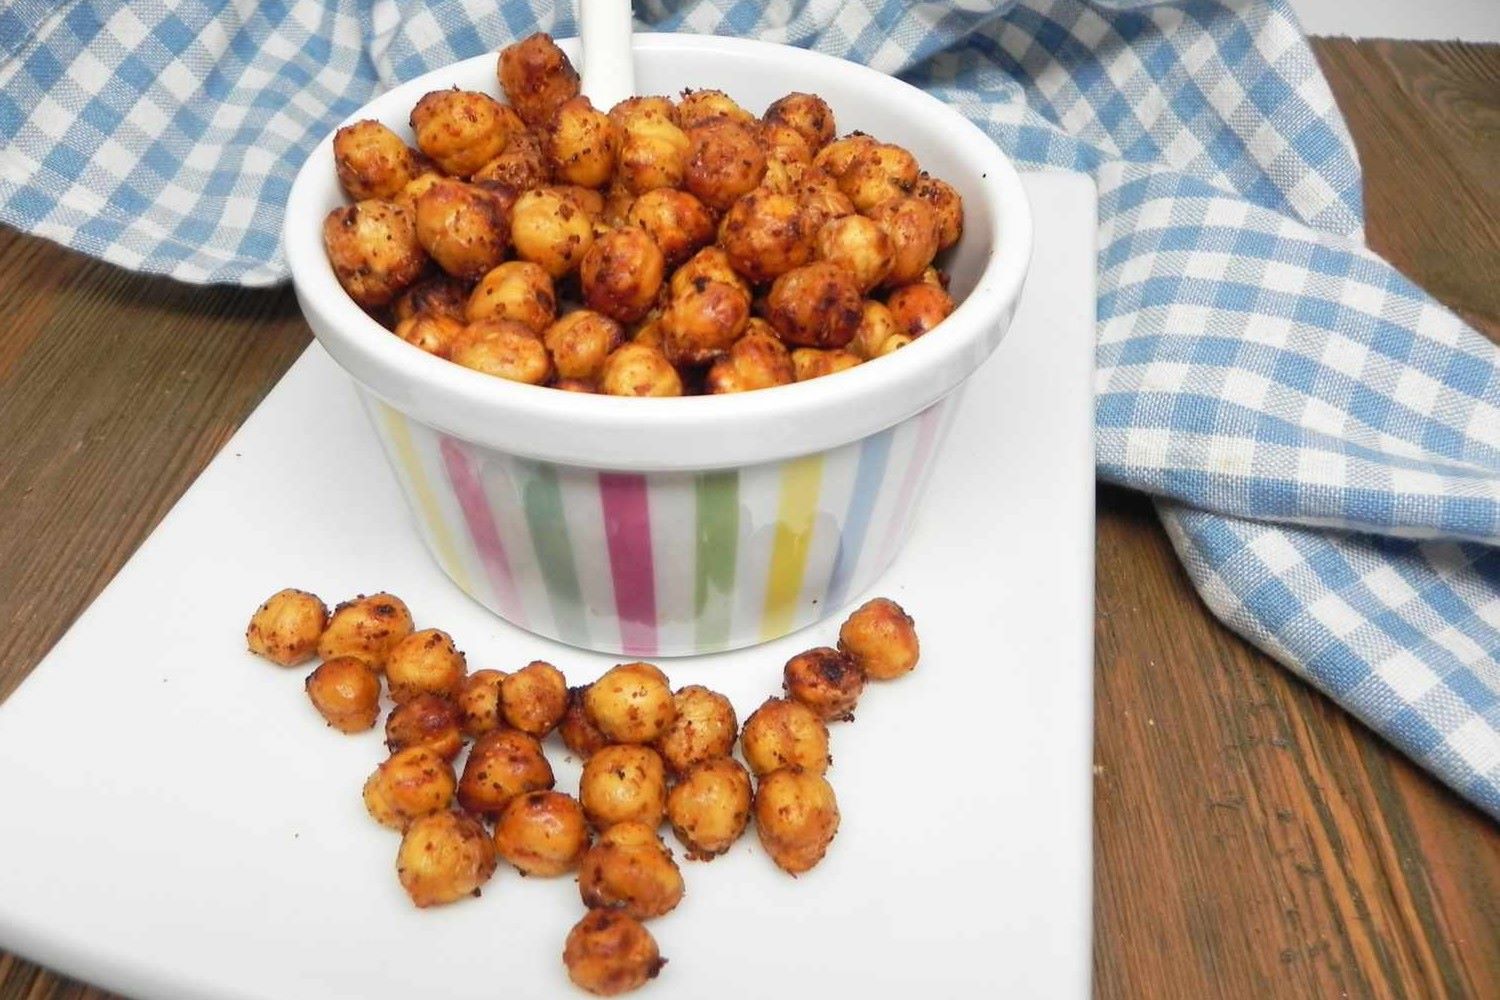
Ingredients For Air Fryer Chickpeas Recipe
Chickpeas: These are small, round beans that come canned or dried; canned chickpeas are quick and easy to use for this recipe.
Olive oil: A healthy oil that helps the spices stick to the chickpeas and makes them crispy in the air fryer.
Paprika: A red spice made from dried peppers that adds a smoky, slightly sweet flavor.
Garlic powder: A powdered form of garlic that gives a nice savory taste without the texture of fresh garlic.
Salt: Enhances all the flavors and balances the spices.
Technique Tip for This Recipe
One of the most helpful tricks in this Air Fryer Chickpeas Recipe is shaking the basket halfway through cooking. Here’s how to do it step by step:
- When your air fryer has been running for about half the time (around 7 or 8 minutes), carefully pull out the basket.
- Hold the basket firmly and give it a good shake so the chickpeas move around and don’t stick together.
- Put the basket back in and finish cooking for the rest of the time.
Shaking the basket like this helps the chickpeas cook evenly on all sides. If you don’t shake, some might get extra crispy while others stay soft or even soggy. It also stops them from clumping up, so every bite is crunchy and tasty.
I remember the first time I made this recipe, I skipped shaking the basket because I thought it was extra work. But the chickpeas came out uneven—some were burnt, and some were barely cooked. After I started shaking, the texture was so much better, and it made the whole snack more enjoyable. Plus, it’s kind of fun to give the basket a little shake and see the chickpeas tumble around like a mini dance party!
So, don’t forget this simple move. It makes your air fryer snacks turn out just right every time, with less guesswork and more crunch.
Suggested Side Dishes
Alternative Ingredients
chickpeas - Substitute with canned white beans: White beans have a similar texture and can be seasoned in the same way.
chickpeas - Substitute with canned black beans: Black beans offer a different flavor but can still be air-fried to a crispy texture.
olive oil - Substitute with avocado oil: Avocado oil has a high smoke point and a neutral flavor, making it a good alternative for air frying.
olive oil - Substitute with coconut oil: Coconut oil can add a slight sweetness and also has a high smoke point.
paprika - Substitute with chili powder: Chili powder provides a similar smoky flavor with a bit more heat.
paprika - Substitute with cumin: Cumin offers a warm, earthy flavor that complements the chickpeas well.
garlic powder - Substitute with onion powder: Onion powder provides a similar depth of flavor and can be used in the same quantity.
garlic powder - Substitute with fresh minced garlic: Fresh garlic can add a more intense flavor, though it may not distribute as evenly.
salt - Substitute with soy sauce: Soy sauce can add a salty and umami flavor, though it will also add moisture.
salt - Substitute with sea salt: Sea salt can provide a different texture and a slightly different flavor profile.
Alternative Recipes to Try
How to Store or Freeze Your Dish
- Allow the chickpeas to cool completely before storing. This helps to maintain their crispiness and prevents condensation from making them soggy.
- Transfer the cooled chickpeas to an airtight container. A glass jar with a tight-fitting lid or a resealable plastic bag works well.
- Store the container in a cool, dry place, such as your pantry. They should stay crispy for up to a week.
- If you prefer to refrigerate them, place the chickpeas in an airtight container and store them in the fridge. Note that refrigeration may cause them to lose some of their crunchiness, but they will still be delicious for up to 5 days.
- For longer storage, consider freezing the chickpeas. Spread them out on a baking sheet in a single layer and place them in the freezer for about an hour. This prevents them from sticking together.
- Once frozen, transfer the chickpeas to a resealable freezer bag or an airtight container. Label the container with the date.
- When ready to enjoy, you can eat them straight from the freezer or reheat them in the air fryer at 350°F (175°C) for 5-7 minutes to restore their crispiness.
How to Reheat Leftovers
- Preheat your air fryer to 350°F (175°C). Place the leftover chickpeas in the air fryer basket in a single layer. Air fry for 5-7 minutes, shaking the basket halfway through to ensure even reheating.
- Spread the chickpeas on a baking sheet and reheat in a preheated oven at 350°F (175°C) for about 10 minutes. Stir halfway through to make sure they heat evenly.
- For a quick microwave option, place the chickpeas in a microwave-safe dish. Cover with a microwave-safe lid or plate and heat on high for 1-2 minutes, stirring halfway through. Note that this method might make them slightly less crispy.
- If you have a toaster oven, preheat it to 350°F (175°C). Spread the chickpeas on the toaster oven tray and heat for 5-7 minutes, stirring halfway through for even reheating.
- For a stovetop method, heat a non-stick skillet over medium heat. Add the chickpeas and stir frequently for about 5 minutes until they are heated through and crispy.
Best Tools for This Recipe
Air fryer: This is the main appliance used to cook the chickpeas, ensuring they become crispy without the need for deep frying.
Mixing bowl: Used to combine the chickpeas with olive oil and seasonings, ensuring even coating.
Measuring spoons: Essential for accurately measuring the olive oil, paprika, garlic powder, and salt.
Spatula: Useful for mixing the chickpeas and seasonings together in the bowl.
Colander: Used to drain and rinse the chickpeas from the can.
Tongs: Handy for shaking the basket halfway through the air frying process.
Serving bowl: Used to serve the chickpeas once they have cooled slightly.
How to Save Time on This Recipe
Pre-measure ingredients: Measure and prepare all ingredients in advance to streamline the cooking process.
Use canned chickpeas: Opt for canned chickpeas instead of dried ones to save soaking and cooking time.
Batch cooking: Make a larger batch and store leftovers for quick snacks throughout the week.
Preheat the air fryer: Preheating the air fryer ensures even cooking and reduces overall cooking time.
Minimal cleanup: Line the air fryer basket with parchment paper to make cleanup faster and easier.
Air Fryer Chickpeas Recipe
Ingredients
Main Ingredients
- 1 can chickpeas drained and rinsed
- 1 tablespoon olive oil
- 1 teaspoon paprika
- 1 teaspoon garlic powder
- 0.5 teaspoon salt
Instructions
- Preheat your air fryer to 400°F (200°C).
- In a bowl, mix chickpeas with olive oil, paprika, garlic powder, and salt.
- Place chickpeas in the air fryer basket in a single layer.
- Air fry for 15 minutes, shaking the basket halfway through.
- Let cool slightly before serving.
Nutritional Value
Keywords
More Amazing Recipes to Try 🙂
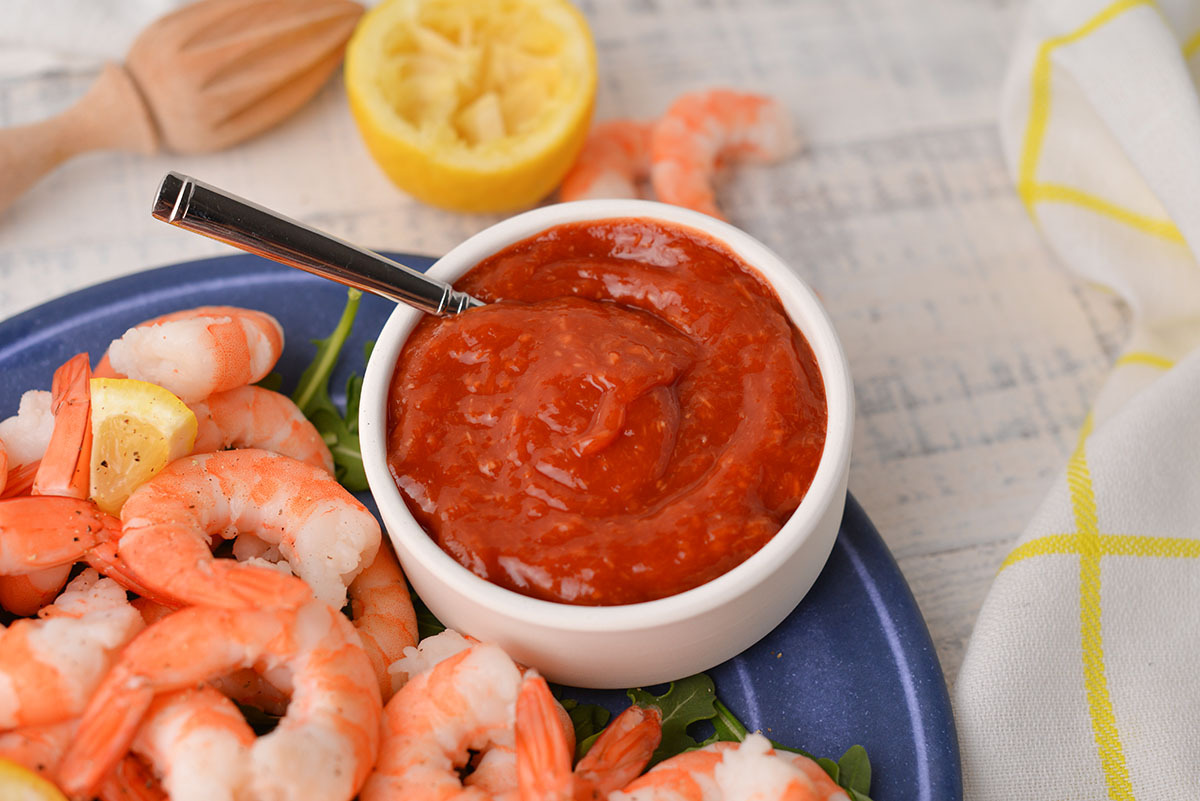
- Cocktail Sauce Recipe5 Minutes
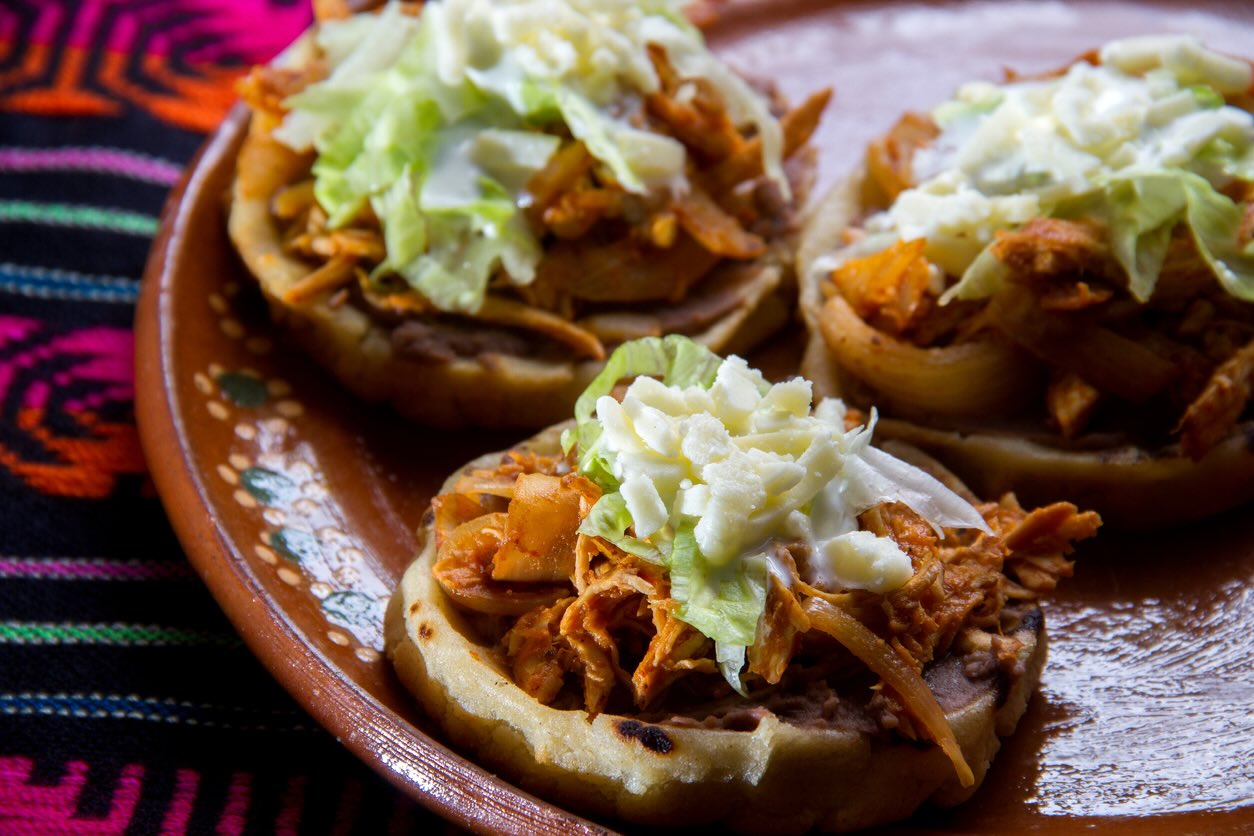
- Mexican Sopes Recipe40 Minutes
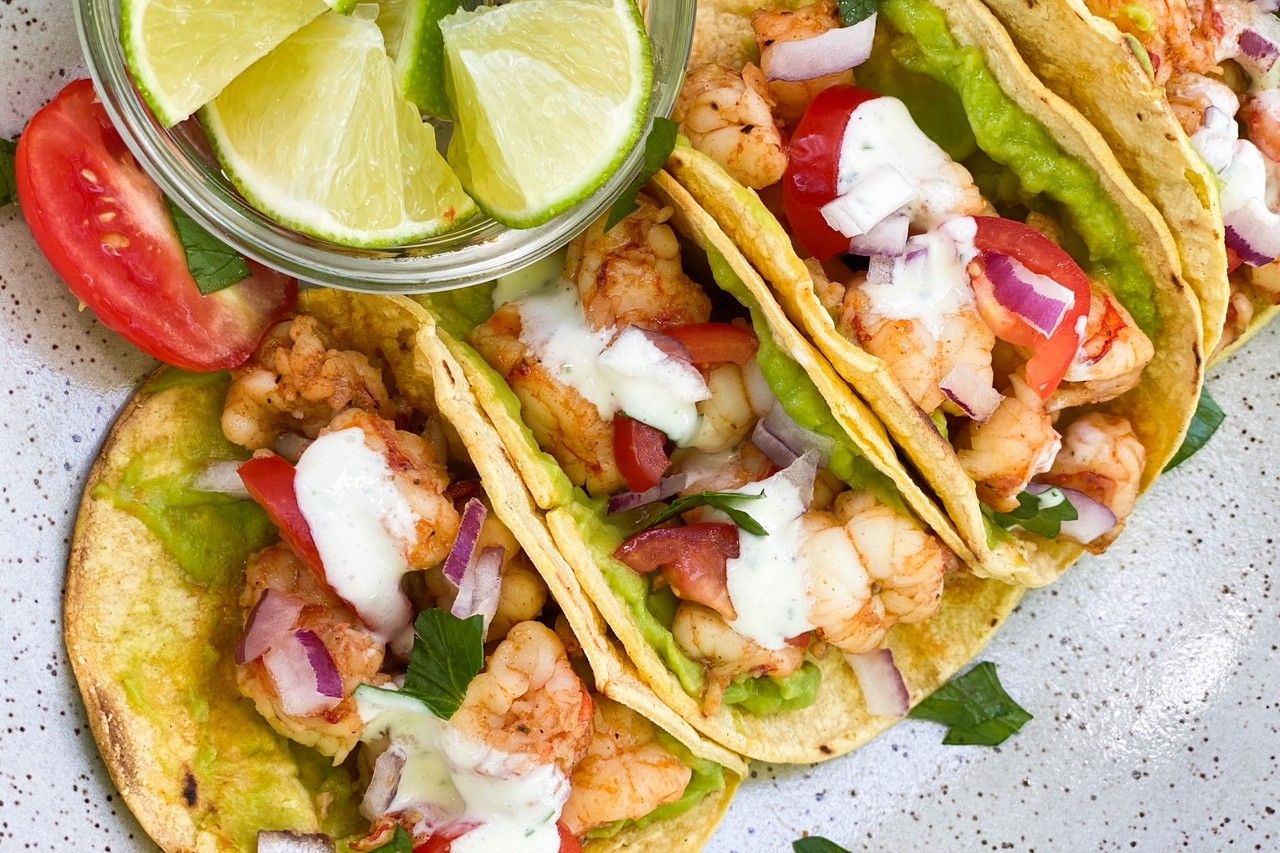
- Traditional Mexican Street Tacos Recipe30 Minutes
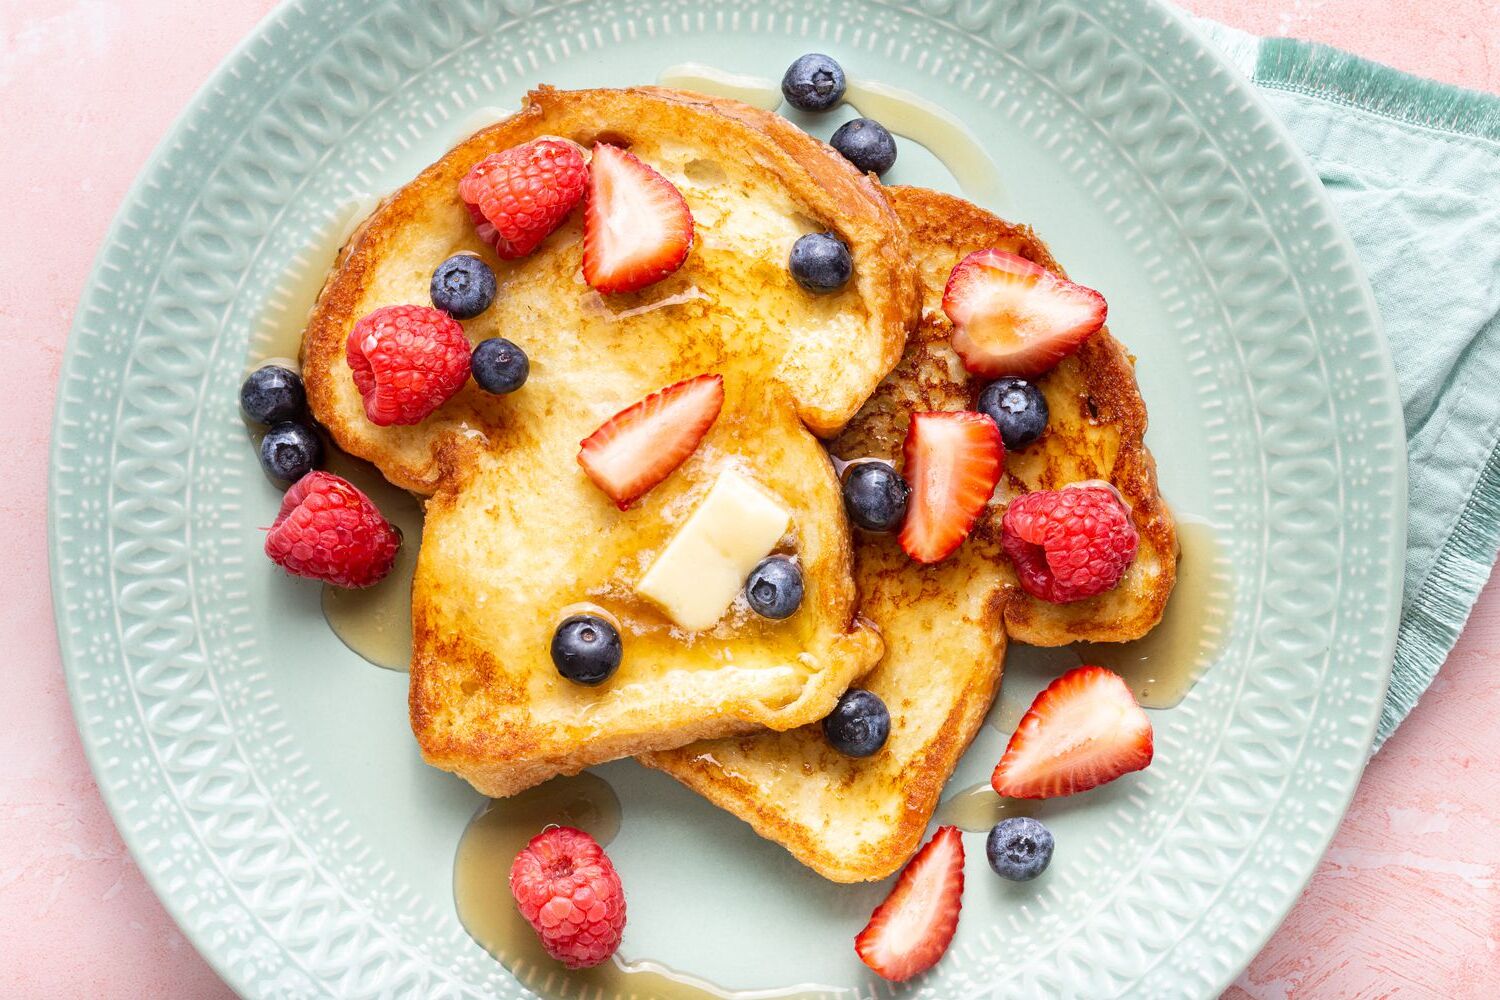
- Eggless French Toast Recipe20 Minutes
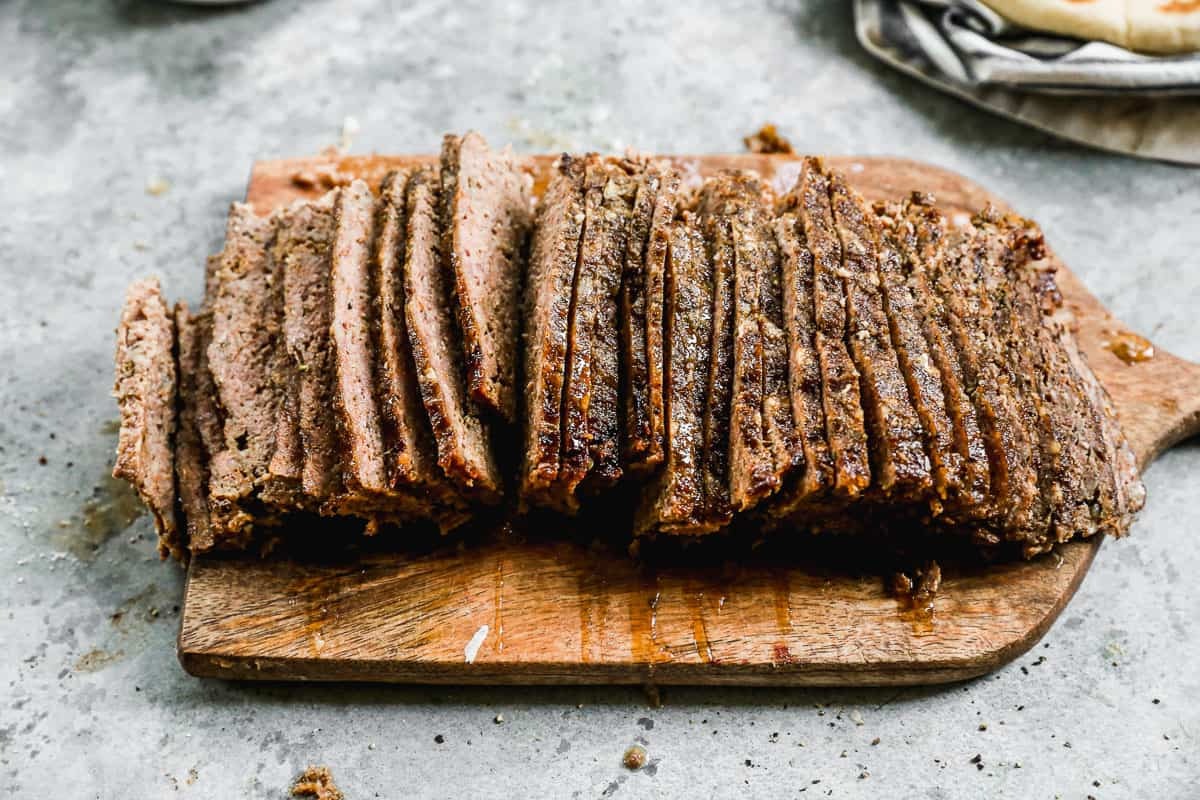
- Traditional Gyro Meat Recipe1 Hours 20 Minutes
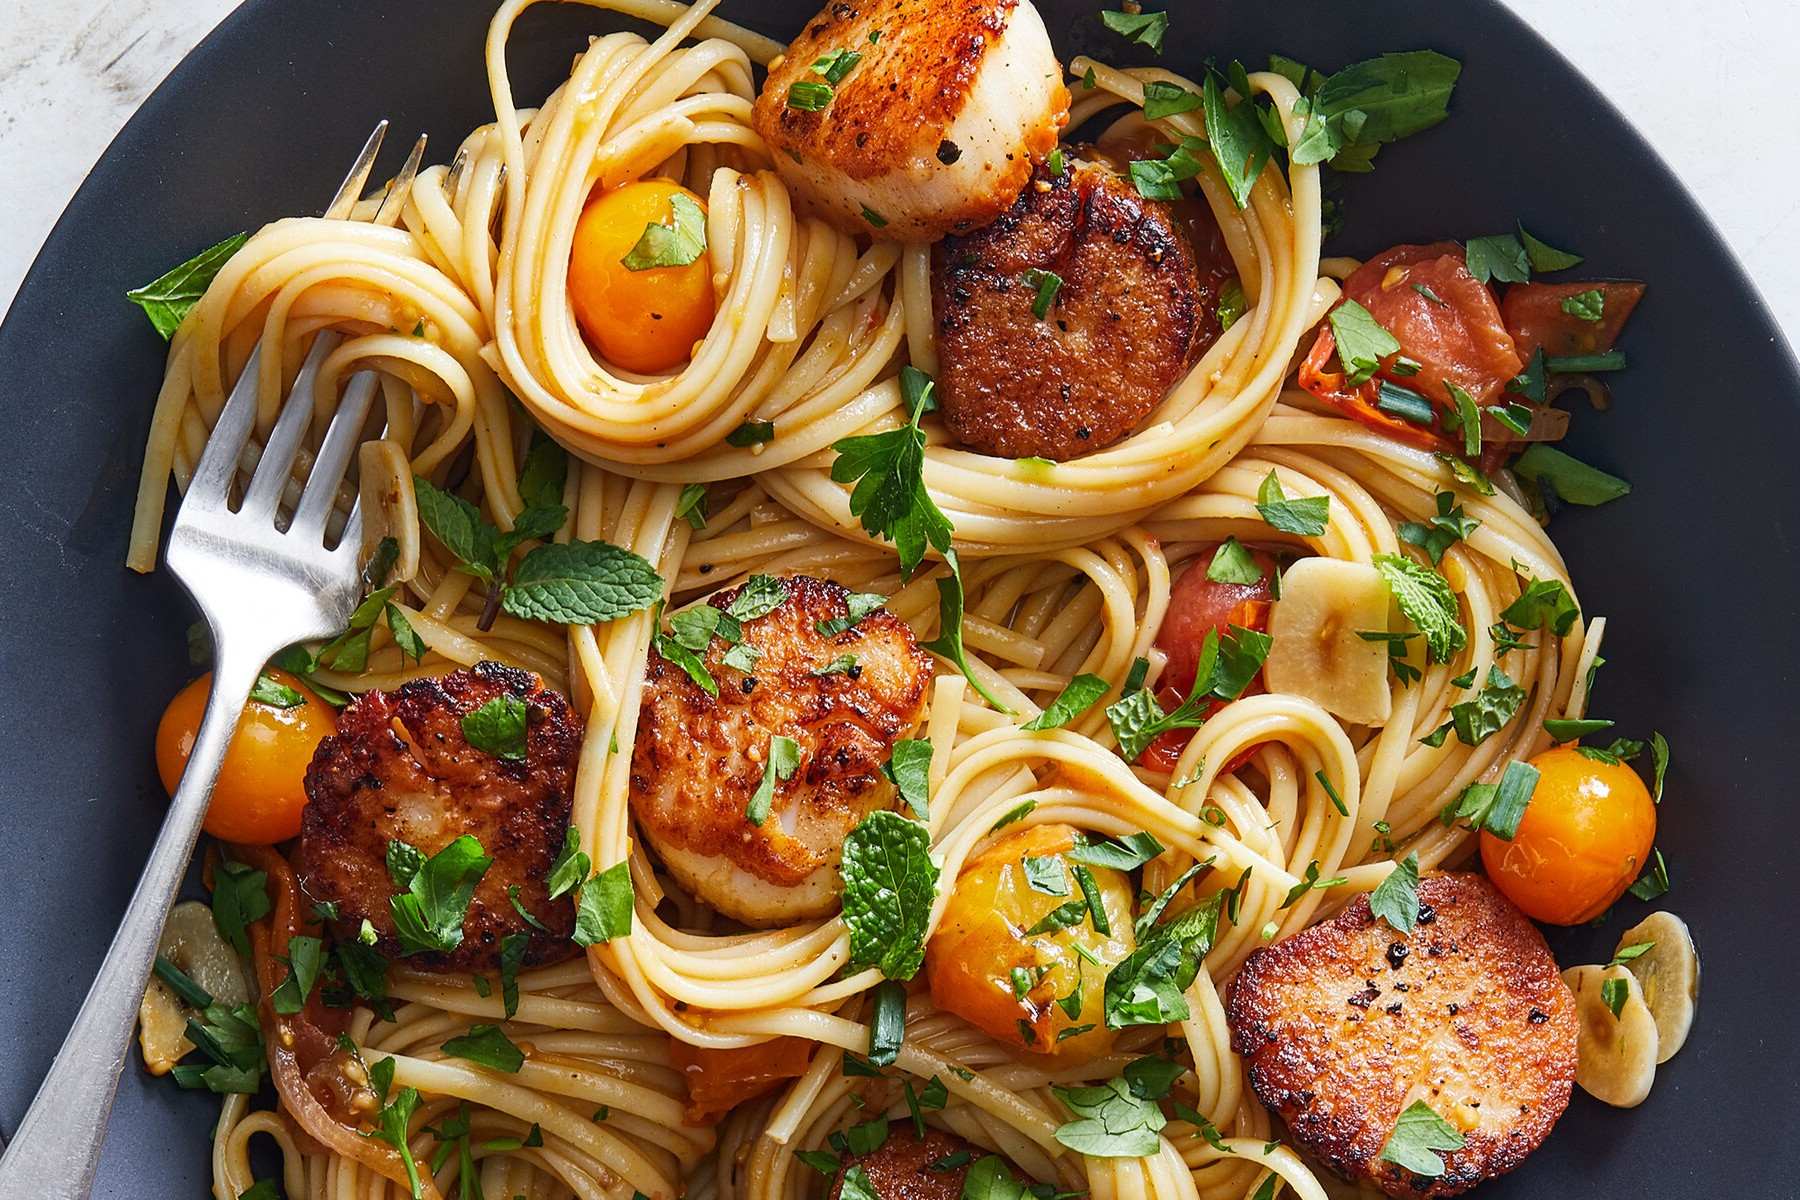
- Sea Scallops and Angel Hair Pasta Recipe30 Minutes
- Swedish Glogg Recipe40 Minutes
- Acini di Pepe Salad Recipe25 Minutes

Leave a Reply