
I love this self-rising flour recipe because it makes baking so much easier when you don’t have the special kind on hand. It’s a simple mix that saves time and helps you whip up pancakes, biscuits, or cakes without any hassle. Keep reading to see how easy it is to make your own at home!
All the ingredients in this recipe are pretty common and you might already have them in your kitchen. If you need to pick something up at the supermarket, just look for baking powder and salt, which are usually found in the baking aisle. These help your flour rise and give your baked goods a light, fluffy texture.
Ingredients For Self-Rising Flour Recipe
All-purpose flour: This is the main ingredient and the base for many baked goods. It’s a versatile flour that works well for most recipes.
Baking powder: This is a leavening agent that helps the dough or batter rise and become fluffy.
Salt: Salt enhances the flavor and balances the sweetness in your baked treats.
Technique Tip for This Recipe
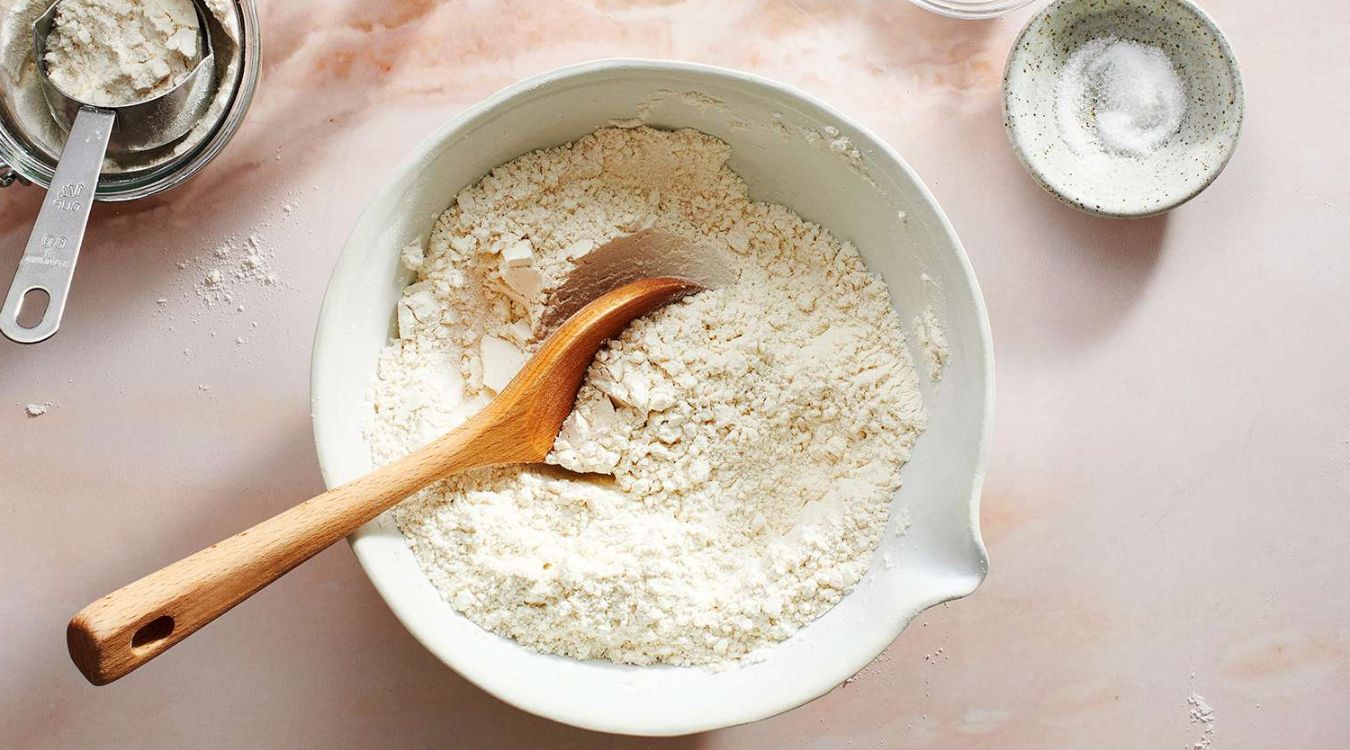
When you’re mixing the flour, baking powder, and salt for your self-rising flour recipe, whisking is a simple but important step. Here’s how to do it without making a mess or leaving lumps behind:
- Grab a whisk or a fork and hold it comfortably in your hand.
- Start by gently stirring the dry ingredients in a circular motion.
- Gradually speed up your whisking, moving it around the bowl so every bit of flour gets mixed with the baking powder and salt.
- Keep whisking until the mixture looks smooth and even, with no clumps of baking powder hiding in the flour.
Whisking like this helps spread the baking powder evenly through the flour, which means your baked goods will rise nicely and have a light, fluffy texture. If you don’t mix well, some parts might rise too much while others stay flat, and that’s no fun when you’re hoping for a perfect batch.
When I first tried this, I didn’t whisk long enough and ended up with little pockets of baking powder that made my muffins taste a bit bitter. Now, I always take a little extra time to whisk thoroughly, and it really makes a difference. Also, if you don’t have a whisk handy, a fork works just fine—just be sure to stir well so everything blends together smoothly.
Once your self-rising flour is ready, you can use it right away or keep it in an airtight container for later. Just remember, the better mixed it is, the better your baking will turn out!
Suggested Side Dishes
Alternative Ingredients
all-purpose flour - Substitute with whole wheat flour: Whole wheat flour adds a nutty flavor and more fiber, but it may make the final product denser.
all-purpose flour - Substitute with gluten-free flour blend: Ideal for those with gluten intolerance, though the texture might slightly differ.
baking powder - Substitute with baking soda and cream of tartar: Use ¼ teaspoon baking soda and ½ teaspoon cream of tartar to replace 1 teaspoon of baking powder.
baking powder - Substitute with self-rising flour: If you have self-rising flour, you can use it directly and omit both the baking powder and salt.
salt - Substitute with kosher salt: Use the same amount; it has a similar flavor but a different texture.
salt - Substitute with sea salt: Provides a slightly different mineral content and flavor profile but works similarly in recipes.
Other Alternative Recipes
How to Store or Freeze
- Ensure your self-rising flour is stored in an airtight container to maintain its freshness. This prevents moisture and air from affecting the baking powder and salt.
- Keep the container in a cool, dry place, away from direct sunlight. A pantry or a kitchen cabinet works perfectly.
- If you live in a humid climate, consider adding a food-safe desiccant packet to the container to absorb excess moisture.
- For longer storage, you can freeze the self-rising flour. Place it in a heavy-duty freezer bag, squeeze out as much air as possible, and seal it tightly.
- Label the container or bag with the date of preparation to keep track of its freshness.
- When ready to use, allow the flour to come to room temperature before incorporating it into your recipes to ensure even mixing.
- Avoid storing self-rising flour near strong-smelling foods like onions or garlic, as it can absorb odors.
- If you notice any clumping, sift the flour before use to break up any lumps and ensure a smooth texture for your baked goods.
- Regularly check for any signs of spoilage, such as an off smell or discoloration, and discard if necessary to ensure the best quality in your cooking and baking.
How to Reheat Leftovers
Preheat your oven to 350°F (175°C). Spread the leftover self-rising flour mixture on a baking sheet and bake for about 5-7 minutes. This will help to refresh the baking powder and ensure your next batch of biscuits or pancakes rises perfectly.
If you need to use the self-rising flour immediately, you can microwave it. Place the mixture in a microwave-safe bowl and heat on high for 10-15 seconds. Stir well to ensure even distribution of the baking powder and salt.
For a stovetop method, heat a dry skillet over medium heat. Add the self-rising flour and stir continuously for 2-3 minutes. This will help to re-activate the baking powder and ensure your baked goods rise properly.
If you have stored the self-rising flour in an airtight container and it has clumped together, sift it through a fine-mesh sieve before using. This will break up any lumps and ensure a smooth, even mixture for your recipes.
To ensure the self-rising flour is evenly mixed, you can also pulse it in a food processor for a few seconds. This will help to evenly distribute the baking powder and salt throughout the flour.
Best Tools for This Recipe
Mixing bowl: A large container used to combine the flour, baking powder, and salt.
Whisk: A utensil used to blend the dry ingredients together until they are well combined.
Measuring cups: Tools used to measure out the correct amount of all-purpose flour.
Measuring spoons: Tools used to measure the precise amounts of baking powder and salt.
Airtight container: A storage container that keeps the self-rising flour fresh if not used immediately.
How to Save Time on This Recipe
Measure ingredients ahead: Pre-measure flour, baking powder, and salt and store them in small containers. This way, you can quickly combine them when needed.
Use a whisk: Whisking the ingredients together is faster and more efficient than sifting, saving you valuable time.
Batch preparation: Make a large batch of self-rising flour and store it in an airtight container. This allows you to have it ready for multiple recipes.
Label containers: Clearly label your storage containers with the contents and date to avoid confusion and ensure freshness.
Self-Rising Flour Recipe
Ingredients
Main Ingredients
- 1 cup all-purpose flour
- 1 ½ teaspoons baking powder
- ¼ teaspoon salt
Instructions
- 1. In a mixing bowl, combine the flour, baking powder, and salt.
- 2. Whisk together until well combined.
- 3. Use immediately or store in an airtight container.
Nutritional Value
Keywords
More Amazing Recipes to Try 🙂
- Turkey and Bacon Panini Recipe20 Minutes
- Strawberry Vinaigrette Recipe10 Minutes
- Tropical Punch Cocktail Recipe10 Minutes
- Beer Batter Fish Recipe25 Minutes
- Antipasto Pasta Salad Recipe25 Minutes
- Greek Tzatziki Recipe15 Minutes
- Apple Pie Shot Recipe5 Minutes
- Onion Ring Batter Recipe25 Minutes
Leave a Reply